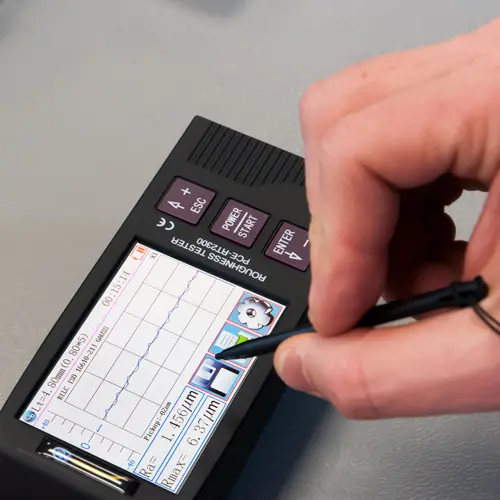
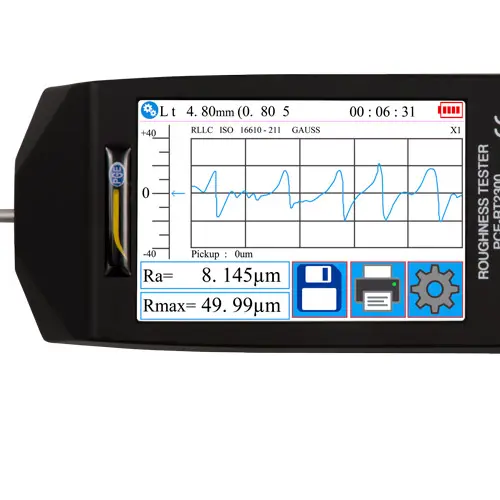
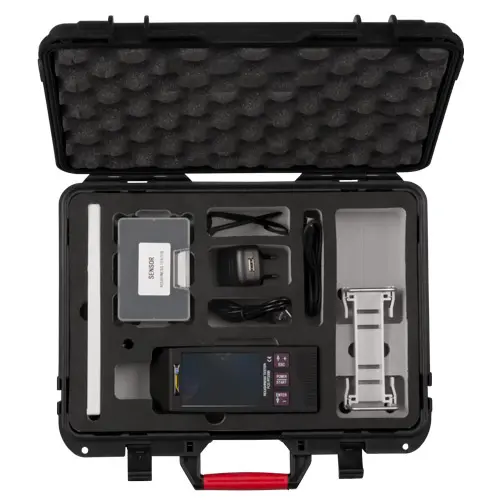

Roughness Tester PCE-RT 2300
- Large measuring range: Rz: 0.02 μm … 320 μm; Ra, Rq: 0.005 μm … 32 μm
- Accuracy of ± 10% and repeat accuracy of ± 6%
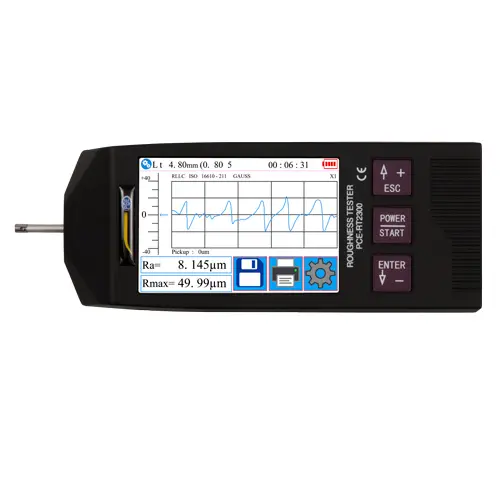
- Touchscreen configuration and Android/printer bluetooth connectivity
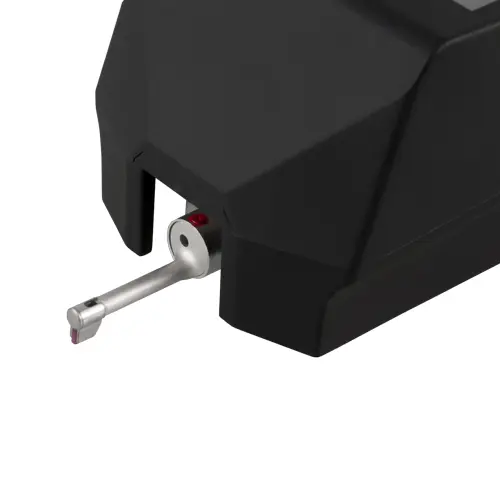
- Sensor has diamond test head with 90-degree cone angle
- Optional sensors and extension rod for small holes and curved surfaces
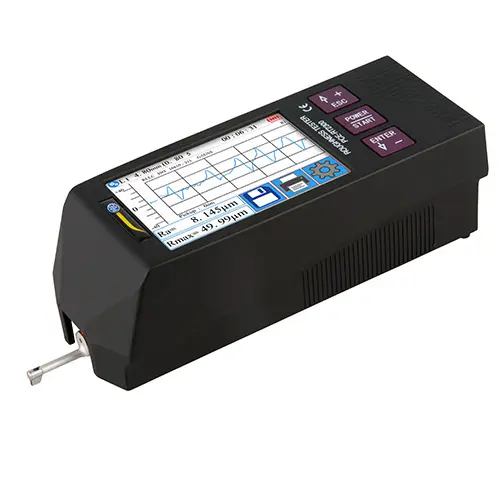
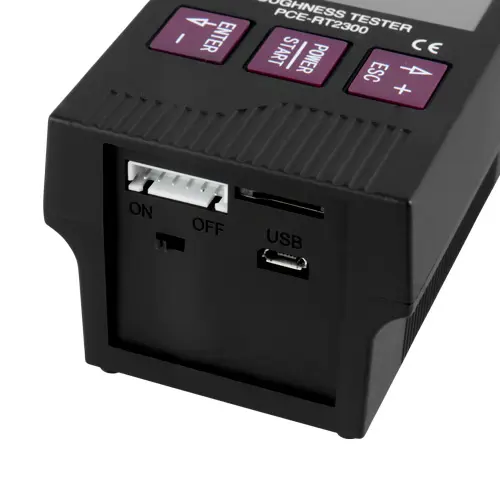
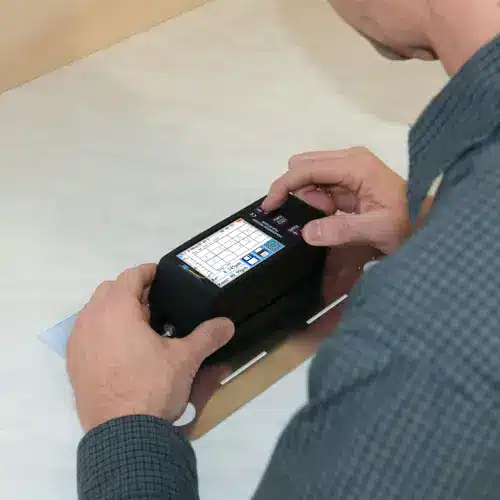
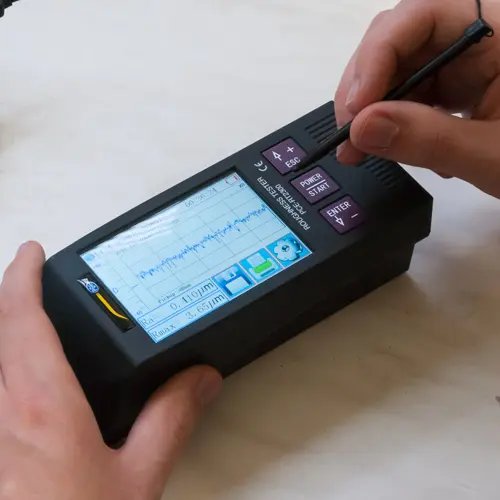
The roughness tester PCE RT 2300 is designed to measure the roughness of surfaces. This device features a removable motorized sensor, allowing it to measure surface roughness even on small or narrow profiles. The measured values are displayed on a large LCD screen. The roughness tester is powered by an internal battery, which can be recharged using a conventional USB power adapter.
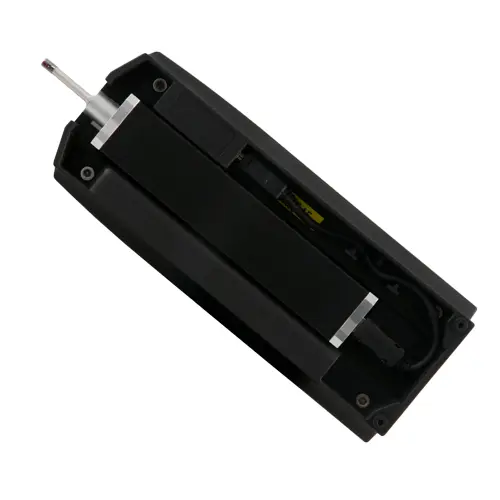
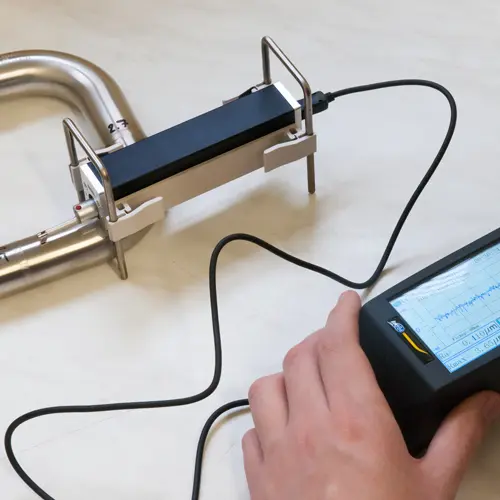
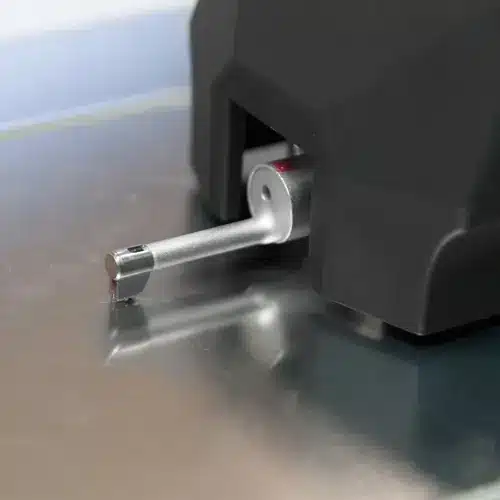
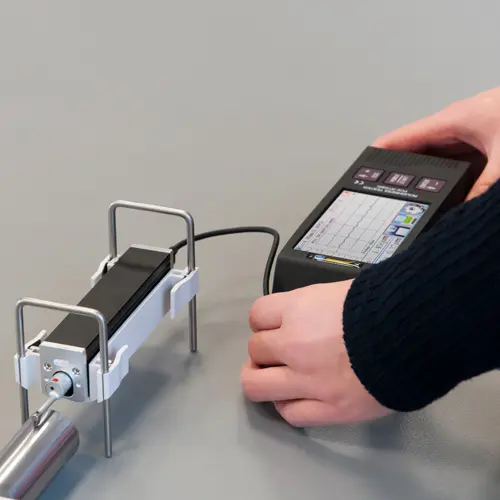
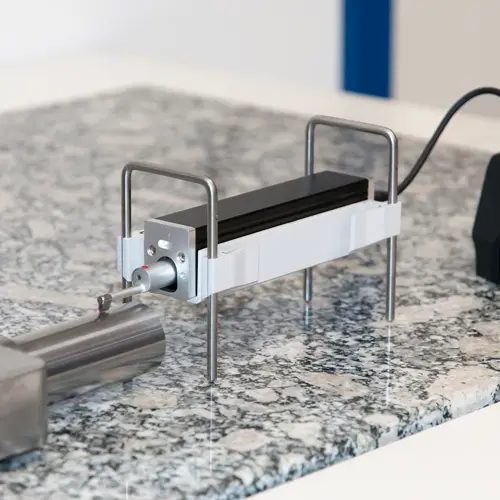
The detachable motorized sensor is connected to the main unit via a cable and is equipped with a diamond stylus. The stylus applies a maximum force of 4 mN on the surface to measure roughness. The roughness tester complies with ISO, ANSI, and JIS standards for roughness measurement instruments.
Key information about the roughness measuring device:
Rz = Average Roughness Depth**
Rz is the arithmetic mean of the largest individual seam depths of several adjoining individual measuring sections.
Ra = Arithmetic Mean Roughness**
Ra is a widely recognized and internationally applied roughness parameter. It represents the arithmetic mean of the absolute values of profile deviations within the reference line. The Ra value is always smaller than the Rz value for the same roughness profile.
Rt = Maximum Roughness**
Rt is the distance between the highest and the lowest points within the measuring section.
Rq = Square Mean Roughness**
Rq, also known as RMS (Root Mean Square), is the root mean square of all ordinate values within the individual measurement distance \( l \).
| Measuring range | Rz: 0.02 μm … 320 μm; Ra, Rq: 0.005 μm … 32 μm, Rz = 320µm (-160µm~160µm) / 12600μin (-6300μin~+6300μin) |
| Accuracy | ± 10% |
| Repeatability | ± 6% |
| Resolution | ± 20 μm: 0.01 μm ± 40 μm: 0.02 μm ± 80 μm: 0.04 μm |
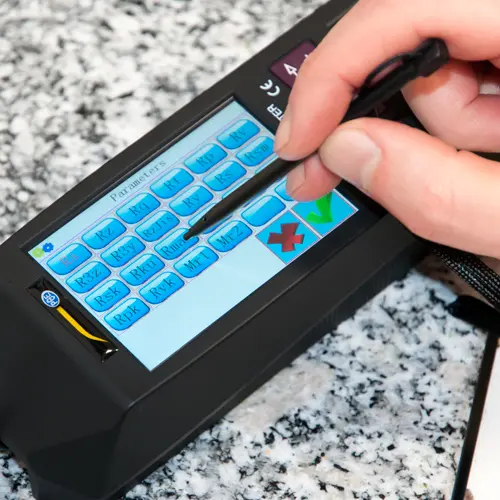
| Measurement Parameters | Ra, Rz, Rq, Rt, Rc, Rp, Rv, R3z, R3y, Rz (JIS), Ry, Rs, Rsk, Rku, Rmax, Rsm, Rmr, RPc, Rk, Rpk, Rvk, Mr1, Mr2 |
| Measurement Standards | ISO4287, ANSI b46.1, DIN4768, JISb601 |
| Graphic | Primary profile (roughness + waviness) Roughness profile (roughness) Loading curves |
| Measuring filter | RC, PC-RC, Gaus, DP |
| Measuring section (Cut Off) | 0.25 mm, 0.8 mm, 2.5 mm |
| Measuring length | 1 … 5* measuring path Max. 17.5 mm (including pre- and post-run) |
| Sensor | Diamond probe tip 90° cone angle 5 μm |
| Contact force sensor | <4 mN |
| Feed rate | 0.25 mm: 0.135 mm / s 0.8 mm: 0.5 mm / s 2.5 mm: 1 mm / s |
| Display | 3.5″ LCD screen |
| Power supply | 3.7V Li-Ion Battery 5V / 800-mA USB Power Adapter |
| Operating time | 50 h |
| Operating conditions | -20 … 40°C / -4 … 104°F, max. 90% rh |
| Storage conditions | -40 … 60°C / -40 … 140°F, max. 90% rh |
| Dimensions | Main unit: 158 x 55 x 52 mm / 6.2 x 2.2 x 2 in Motor unit: 115 x 23 x 27 mm / 4.5 x 1 x 1.1 in |
| Weight | About 500 g / 1.1 lbs |
1 x Roughness tester PCE-RT 2300
1 x Microprobe
1 x Removable motorized sensor
2 x Connection cable for motor unit
1 x Charger
1 x Interface cable
1 x Transport case
1 x Manual


