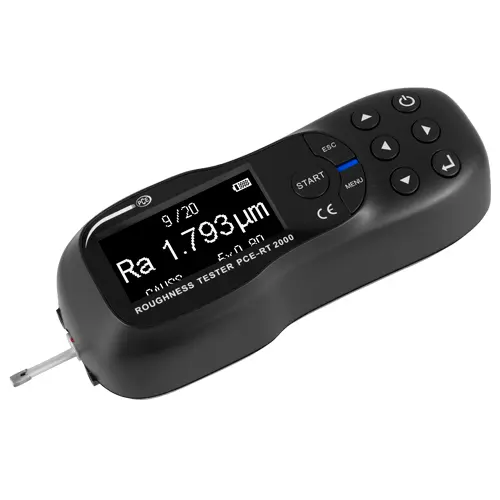
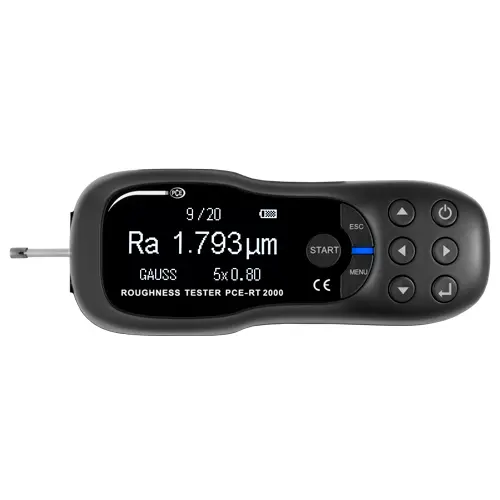

Roughness Tester PCE-RT 2000BT
- Measuring ranges Ra, Rq, Rc: 0.005 µm … 16 µm / 0.197 µinch … 629.9 µinch
- Measurement accuracy: <± 10%
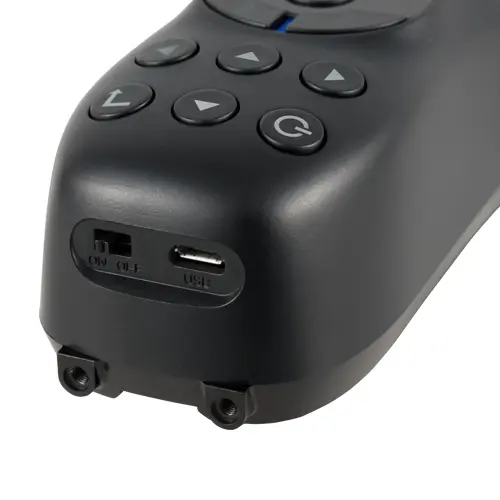
- Micro USB interface
- 3 different cut-off wavelengths
- PC software
- Large OLED display
- Display for the position of the probe
- Micro-USB interface
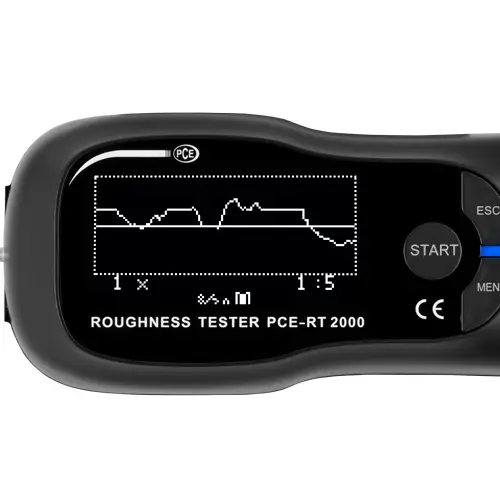
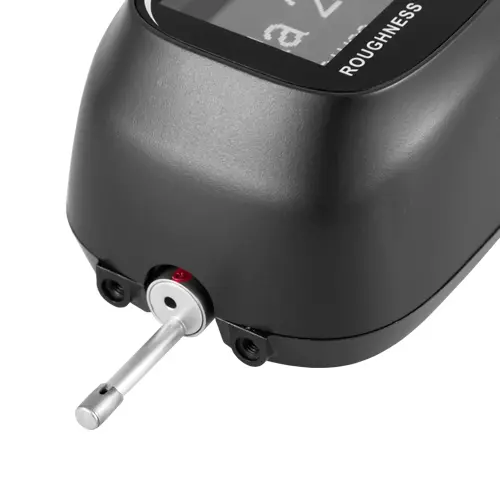
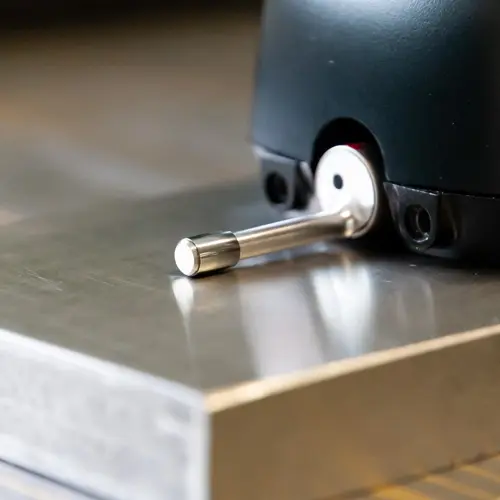
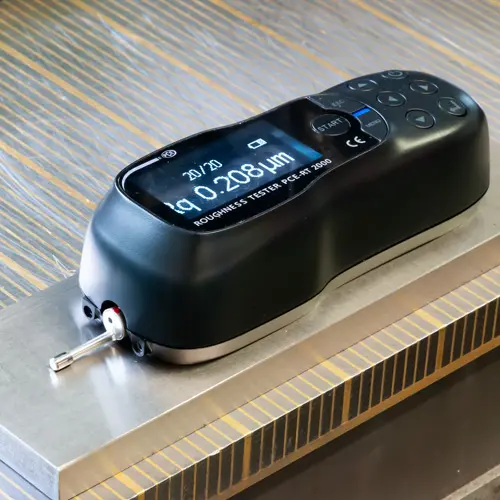
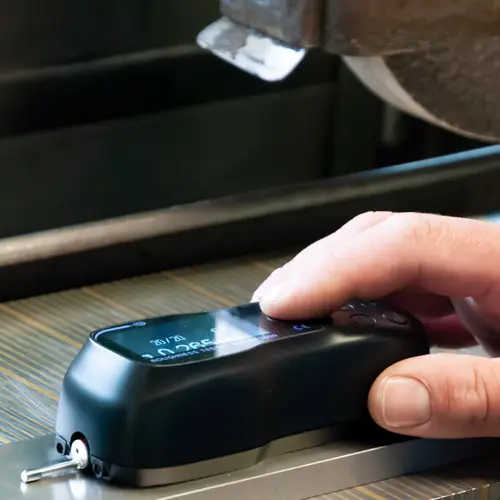
With the portable Bluetooth roughness tester PCE-RT 2000BT from Dhanbad Instruments, you can quickly and precisely measure the roughness of various surfaces. To use, place the Bluetooth roughness meter on the surface to be tested and align it using the positioning device. Measurement is initiated with a simple button press. The measured value and a progress diagram of the surface are then displayed on the device’s screen.
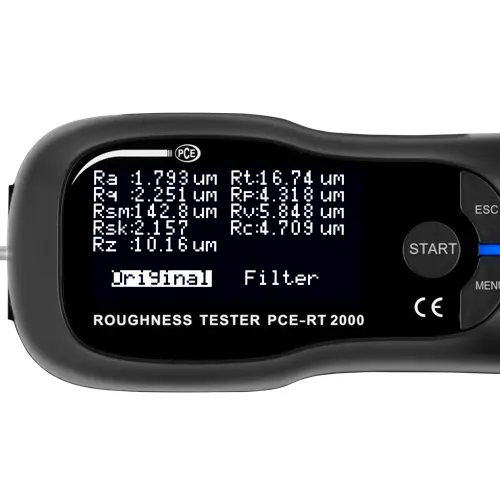
The roughness tester provides various measurement parameters, such as maximum roughness depth and mean roughness depth, offering comprehensive information about the surface’s roughness. These parameters can be viewed in the data memory of the Bluetooth roughness meter after measurement.
The roughness meter records and saves the measured values after each measurement, with a capacity to store up to 20 measurement sequences. To further process or analyze the data, connect the Bluetooth roughness meter to a PC via the micro-USB interface. The free software available on the download portal allows for data readout, analysis, and further processing.
The roughness meter features a Bluetooth interface that enables a direct connection with an Android device, offering several advantages. Stored data can be displayed and analyzed directly on the Android device, and measured values can be exported and shared via the mobile device. Additionally, the Bluetooth roughness meter can be controlled through the connected mobile device, allowing measurement parameters to be set and the measurement process to be started via the Bluetooth interface. This approach minimizes vibrations compared to using physical buttons, resulting in more precise and reliable measurements.
| Measurement parameters | Ra, Rq, Rsm, Rsk, Rz, Rt, Rp, Rv, Rc |
| Measuring ranges | Ra, Rq, Rc: 0.005 μm … 16 μm Rz, Rt, Rp, Rv: 0.02 μm … 200 μm Rsm: 5 μm … 1000 μm Rsk: -1 … 1 |
| Radius stylus tip | 5 μm |
| Material stylus tip | Diamond, 90° angled |
| Max. recommended force for static measurement | 4 mN (0.4 gf) |
| Measuring principle | Inductive |
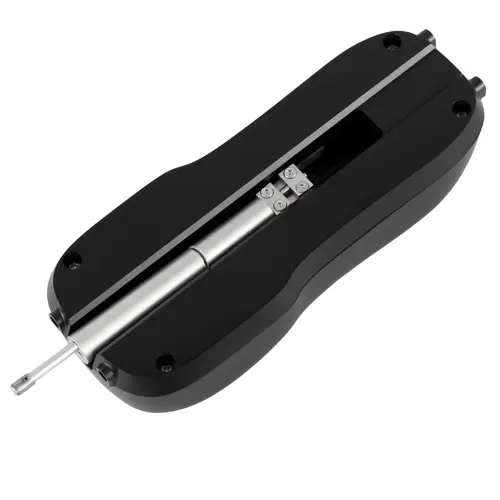
| Radius longitudinal guide bar | 45 mm / 1.8 in |
| Standards | ANSIB46.1/ASMEB46.1 (DIN EN ISO 4287) |
| Maximum driving distance | 15 mm / 0.6 in |
| Cut-off wavelength (cut off) | 0.135 mm/s at cut-off wavelength: 0.25 mm 0.5 mm/s at cut-off wavelength: 0.8 mm 1 mm/s at cut-off wavelength: 2.5 mm Reversing speed: 1 mm/s |
| Measurement accuracy | <± 10% |
| Repeatability | <6% |
| Display | OLED |
| Units | μm / μinch (switchable) |
| Interface | Micro USB, Bluetooth |
| Power supply | Rechargeable Li-ion battery |
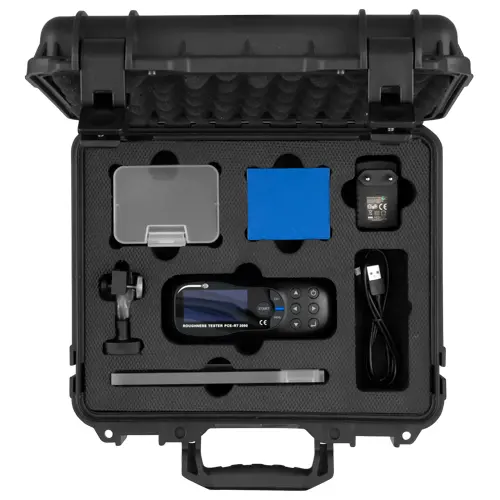
1 x Roughness Tester PCE-RT 2000BT
1 x Microprobe
1 x Protective cap for buttons
1 x Clamping device
1 x Software
1 x Calibration plate
1 x Roughness standard
1 x USB cable
1 x Charging adapter
1 x Transport case
1 x User manual


