
Order no.: PCE-CT 80HP-FN3
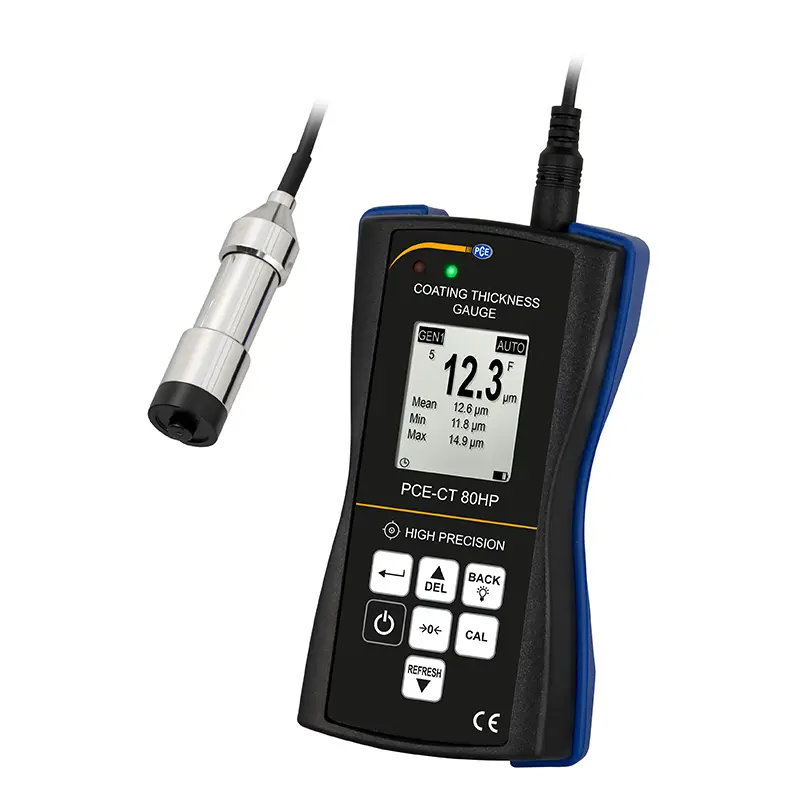
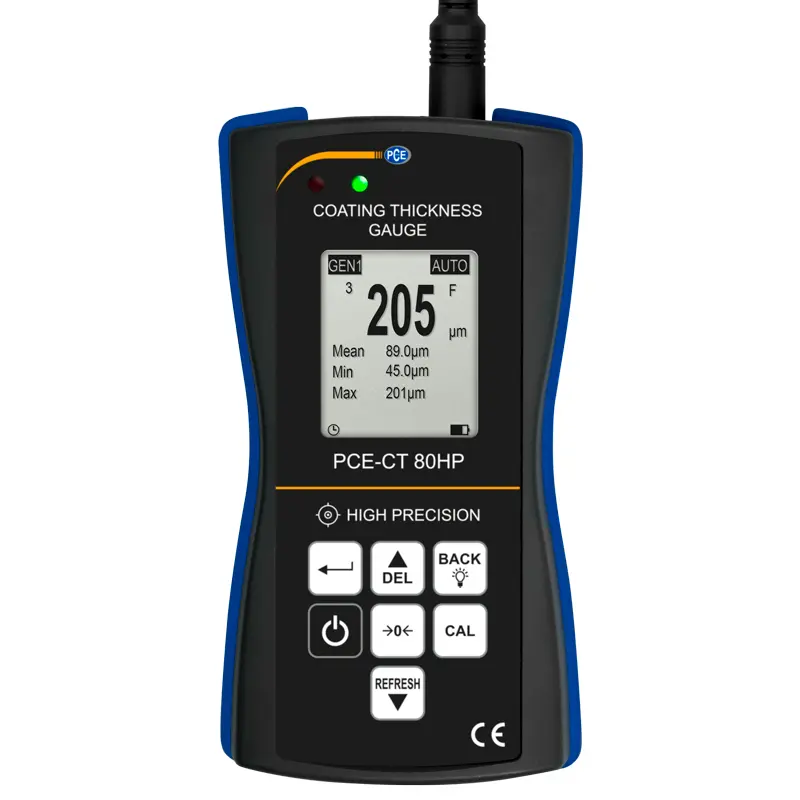
Coating Thickness Gauge PCE-CT 80HP-FN3
- Measuring range: Fe: 0-3000 µm, NFe: 0-3000 µm
- Accuracy after foil calibration: ±(1.0 % of measured value + 1 µm)
- Data memory for 2000 readings
- Fe substrates such as steel and Fe
- NFe substances such as Al and Cu
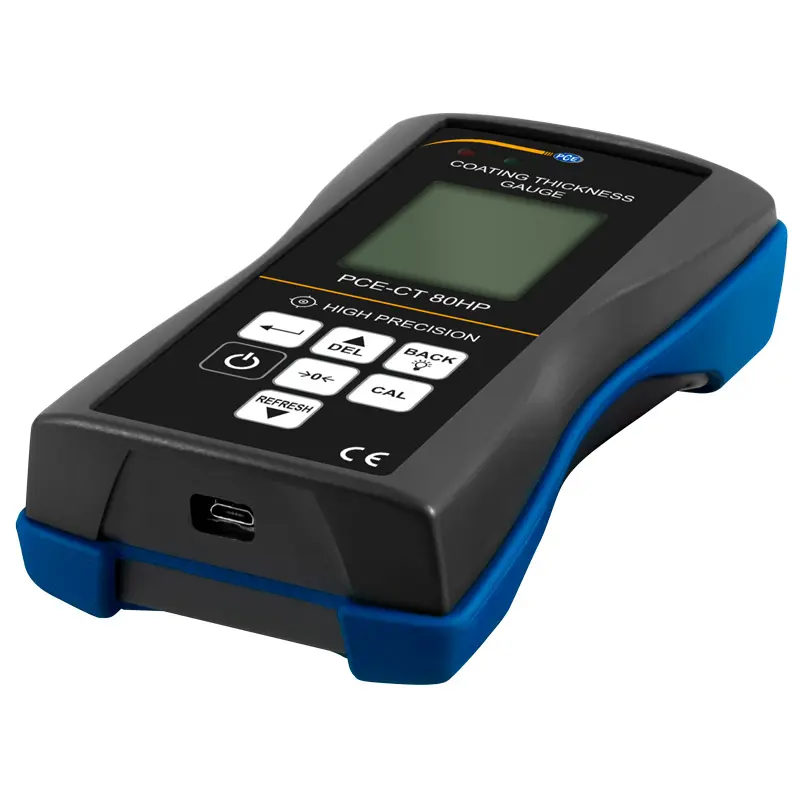
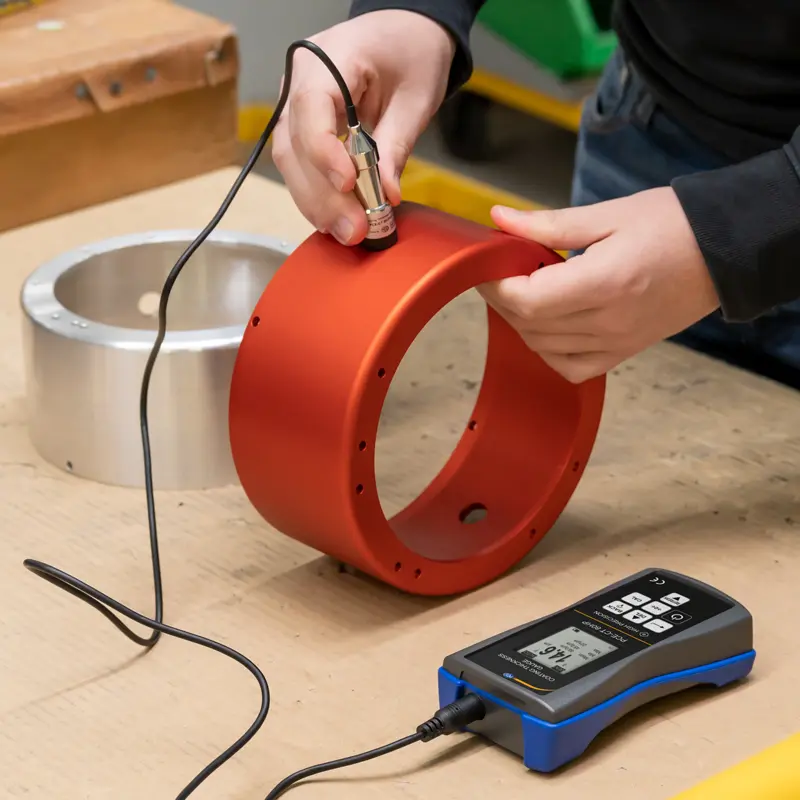
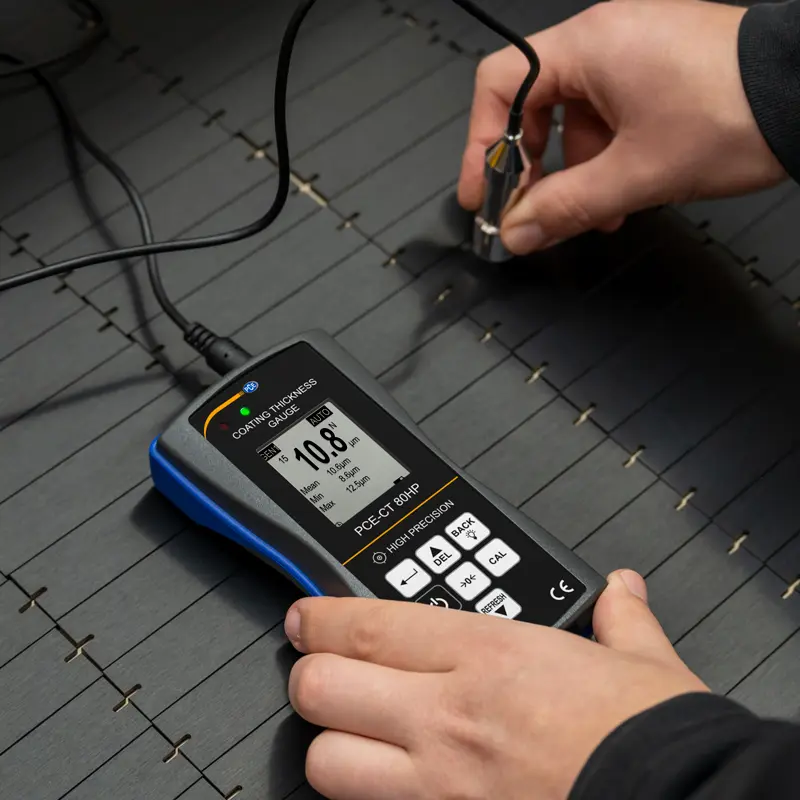
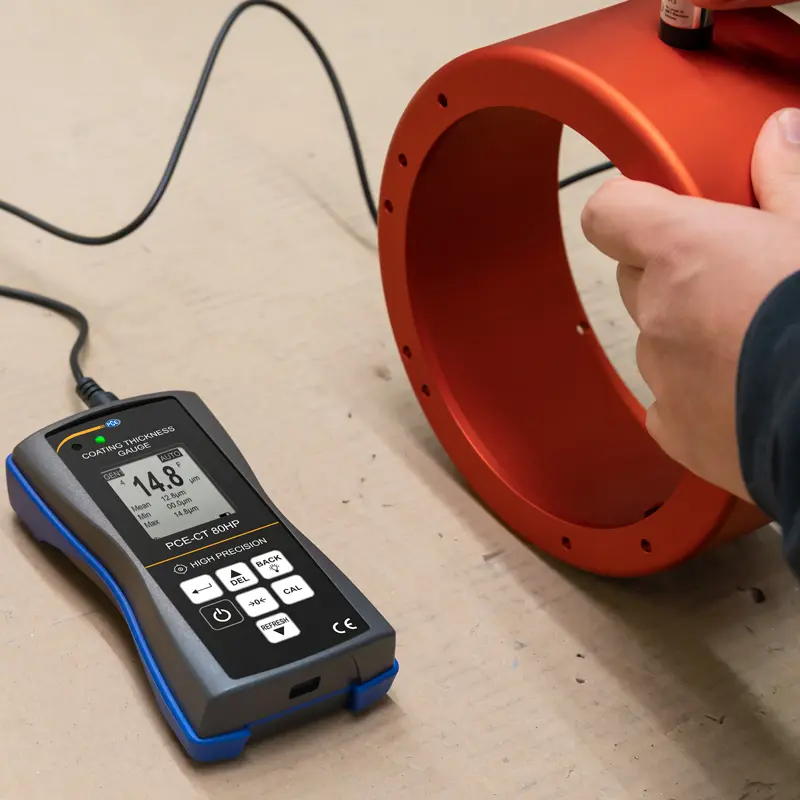
The coating thickness gauge reliably measures the thickness of coatings like plastics and paints on ferrous and non-ferrous metals. With a measuring range up to 5000 µm on ferrous metals, it handles a wide variety of tasks. Its high accuracy of ±(1.0% of mv. + 0.5 µm) ensures precise measurements. The sensor, equipped with a V-groove, allows measurements on both convex and concave surfaces.
During use, the gauge can save up to 2,000 measured values, which can be transferred to a computer for analysis with software. The data can also be exported in CSV format for further processing.
The gauge features a limit value alarm function where you can set a target range. A green LED signals when the measurement is within the set range, while a red LED indicates when it is outside. This function makes the gauge ideal for quality assurance in incoming and final inspections.
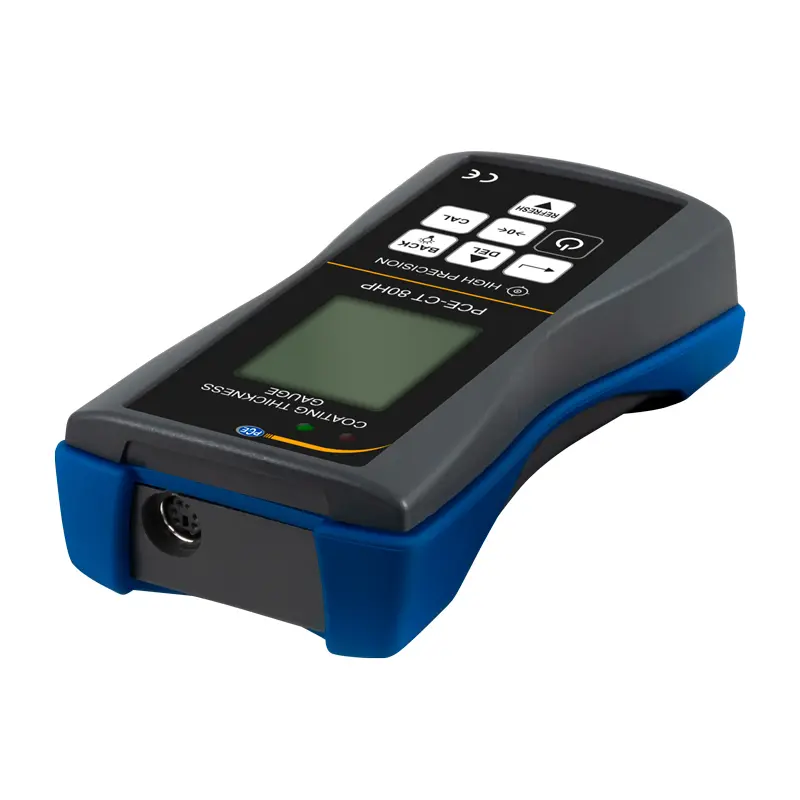
For added protection, the gauge has a rubberized housing. An ISO calibration certificate is also available as an option.
HIGHLIGHTS
- Practical V-groove on the measuring heads
- High accuracy for small coatings
- Adjustable limit values
- Data memory for 2000 readings
- Measuring range of up to 0 … 5000 µm
- Optionally with ISO calibration certificate
| Measuring range | Fe: 0 … 3000 µm, NFe: 0 … 3000 µm |
| Accuracy after foil calibration | ±(1.0 % of measured value + 1 µm) |
| Accuracy after zeroing | ±(1.5 % of measured value + 1 µm) |
| Probe diameter | Ø17 mm / 0.67″ |
| Resolution | 0.1 µm (<100 µm), 1 µm (>100 µm) |
| Measurable materials | |
| Fe substrates such as: | Fe substrates such as: steel and iron |
| NFe substrates such as: | NFe substrates such as: aluminum and copper |
| Min. radius of curvature convex | 5 mm / 0.19″ |
| Min. radius of curvature concave | 25 mm / 0.98″ |
| Min. measuring surface | Ø17 mm / 0.67″ |
| Min. layer thickness | 0.2 mm / 0.007″ (on magnetic materials) |
| 0.05 mm / 0.002″ (on non-magnetic materials) | |
| Probe mode | Auto material detection mode (Fe + NFe) |
| Magnet mode (Fe) | |
| Eddy current mode (NFe) | |
| Calibration | Multi-point calibration |
| (1 … 4 points for each group) | |
| Zero calibration | |
| Units | µm, mm, mils |
| Data transfer | USB 2.0 |
| Memory | A volatile measurement group (DIR mode) |
| Four measurement groups with autom. | |
| storage and max. 2000 readings (GEN mode) | |
| Statistics functions | Number of measured values, mean, |
| minimum, maximum, standard deviation | |
| Alarm | Display when the adjustable value is exceeded |
| upper and lower alarm limit | |
| Automatic shutdown | auto. shutdown mode (3 min.) |
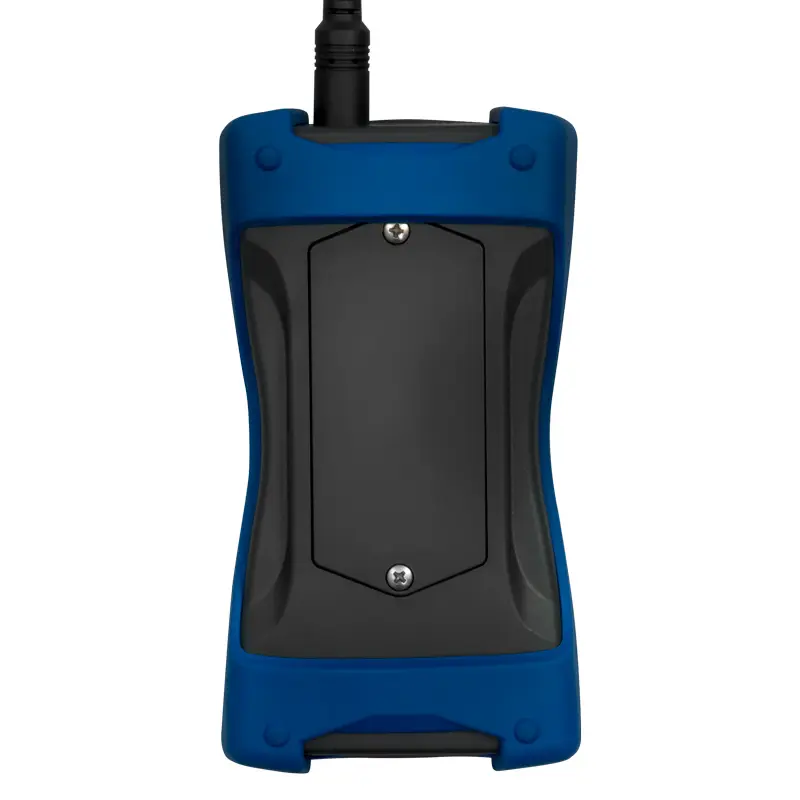
| Power supply | 3 x 1.5 V AAA batteries |
| Display | 128 x 128 px LCD display |
| Additional displays | battery status, error detection |
| Operating conditions | 0 … +50 °C / 32 … 122 °F |
| 20 … 90 % RH non-condensing | |
| Storage conditions | -10 … +60 °C / 14 … 140 °F |
| 20 … 90 % RH non-condensing | |
| Dimensions | 143 x 71 x 37 mm / 5.6 x 2.8 x 1.4″ (L x W x H) |
| Weight | with sensor and batteries: 271 g / 9.5 oz |
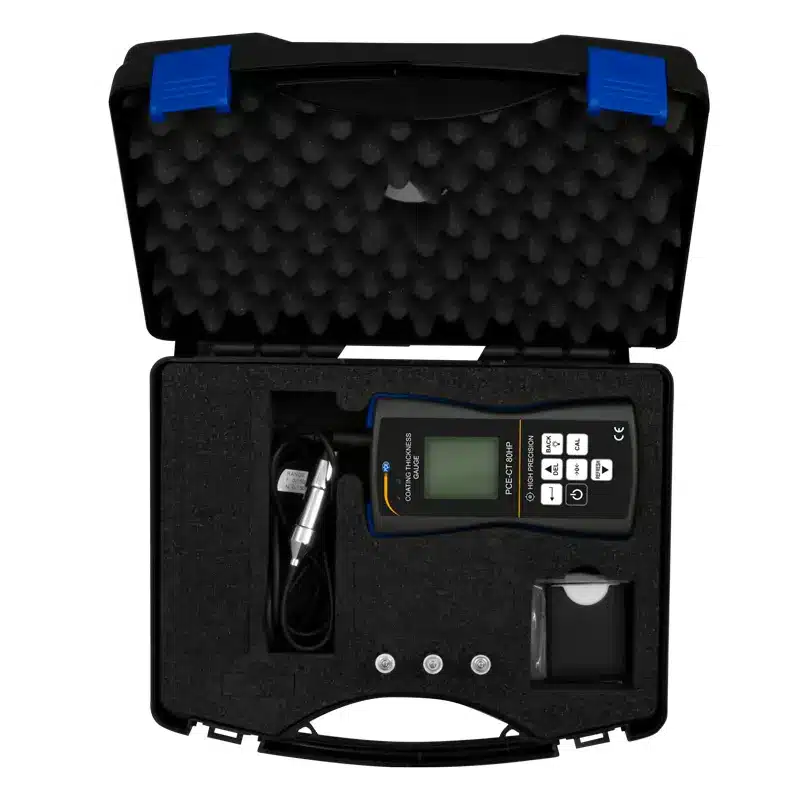
1 x Coating Thickness Gauge PCE-CT 80HP-FN3
1 x Sensor
3 x 1.5V AAA batteries
1 x Carrying case
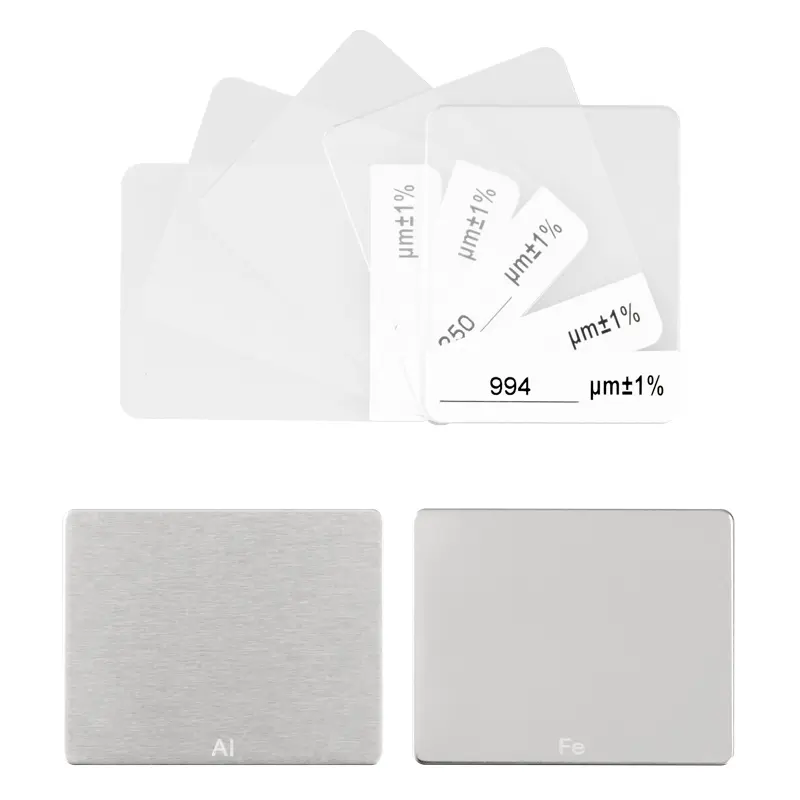
1 x Set of standard foils
1 x Calibration plates (Fe and NFe)
1 x Instruction manual


