
Order no.: PCE-CT 80HP-F5N3
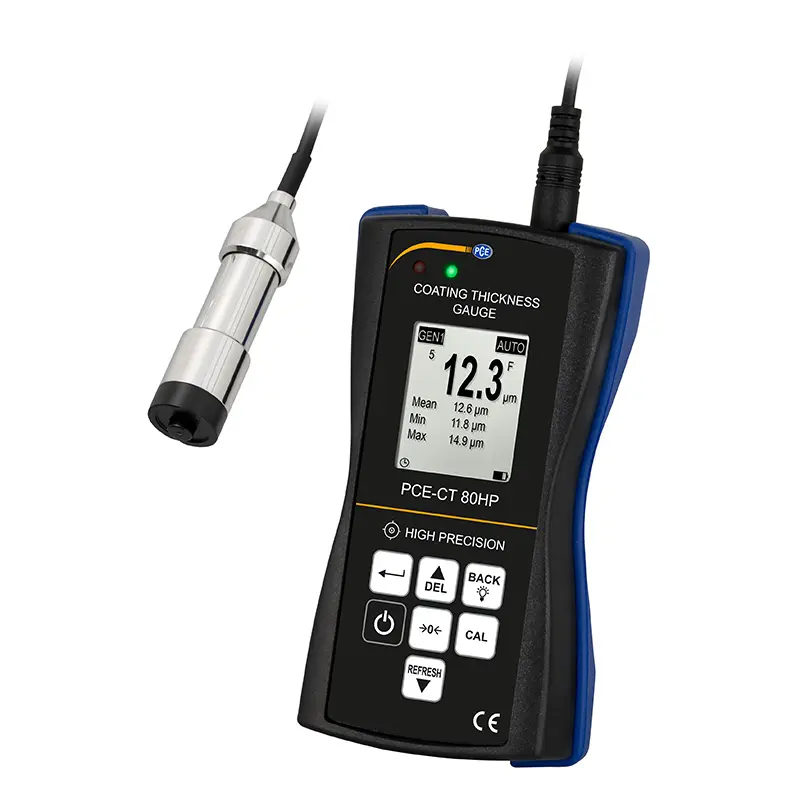
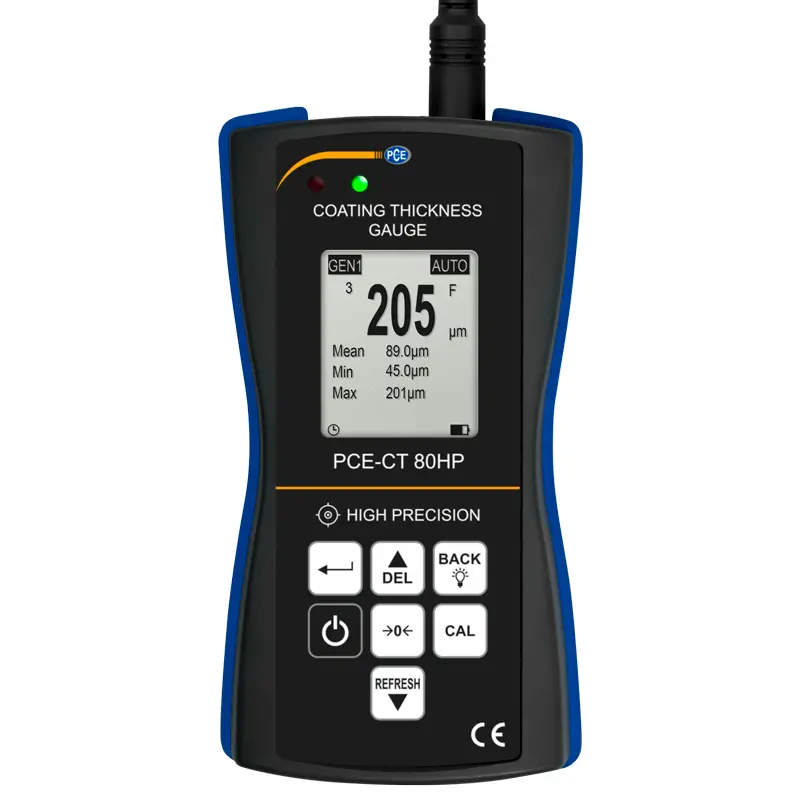
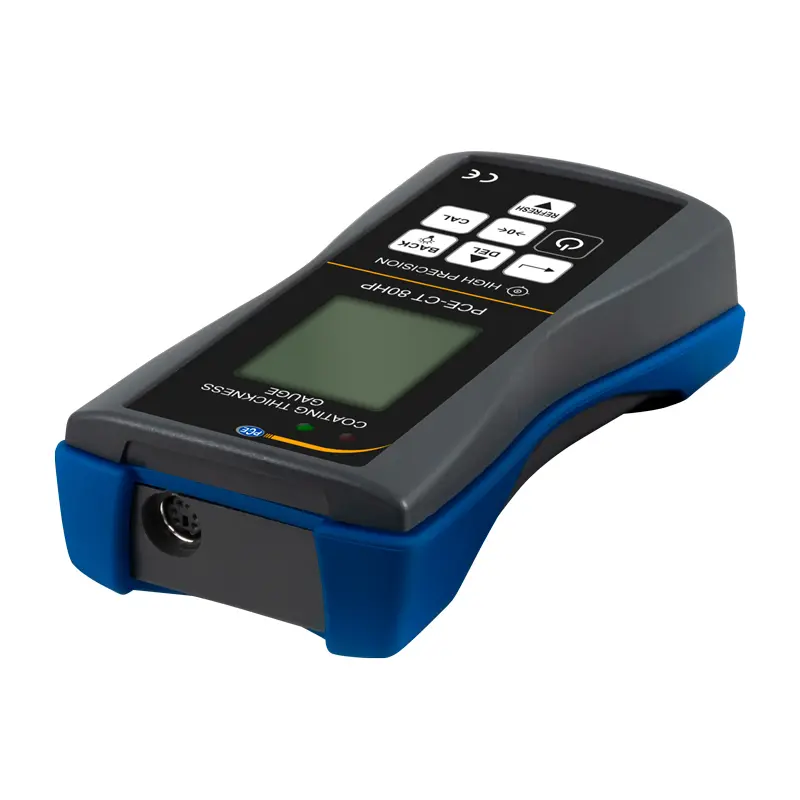
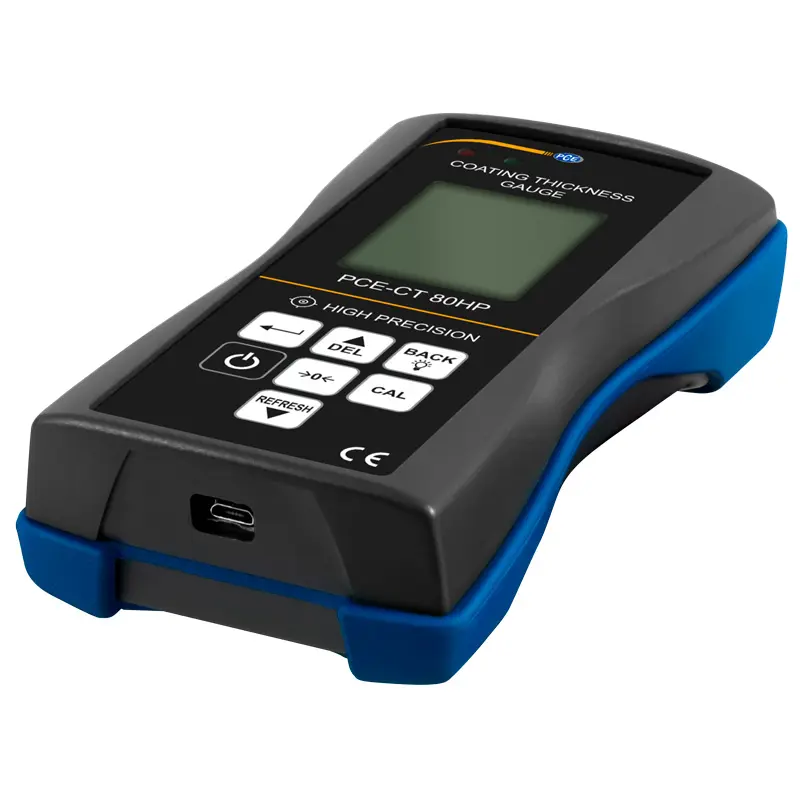
Coating Thickness Gauge PCE-CT 80HP-F5N3
- Measuring range: Fe: 0-5000 µm, NFe: 0-3000 µm
- Accuracy after foil calibration: ±(1.5 % of measured value + 1 µm)
- Data memory for 2000 readings
- Fe substrates such as steel and Fe
- NFe substances such as Al and Cu
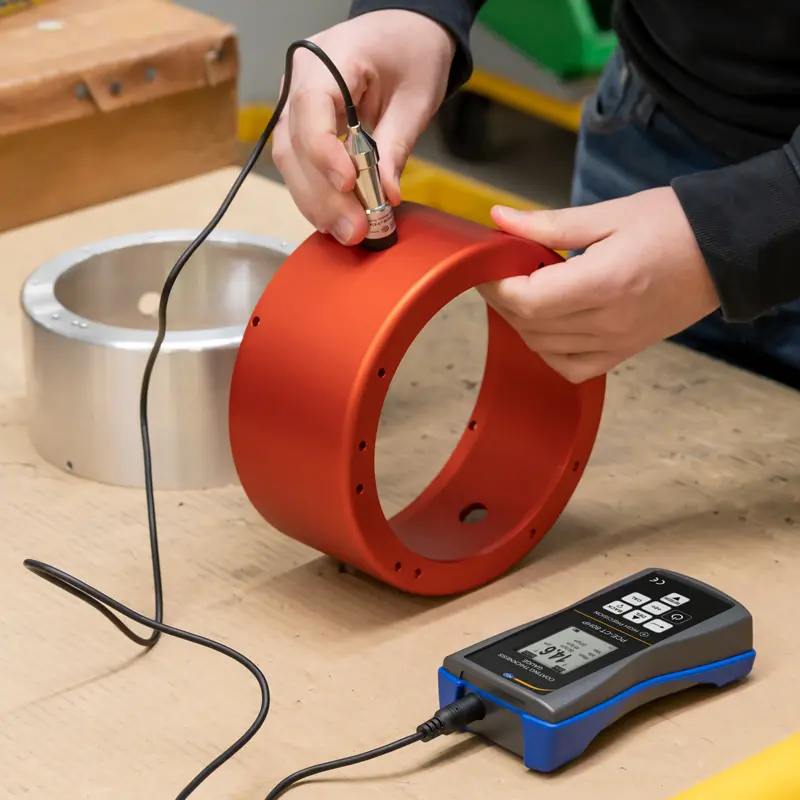
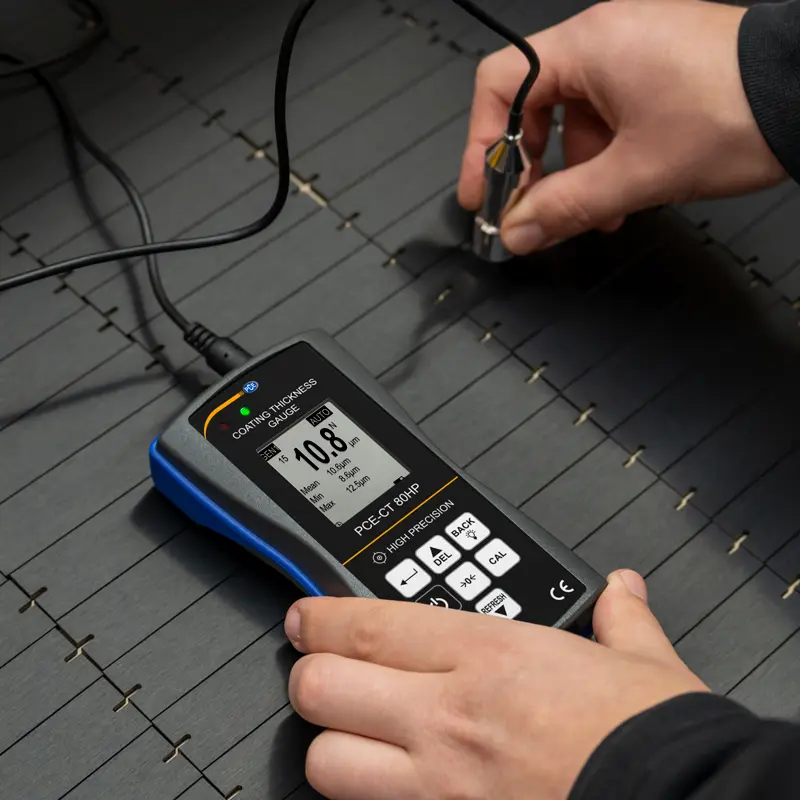
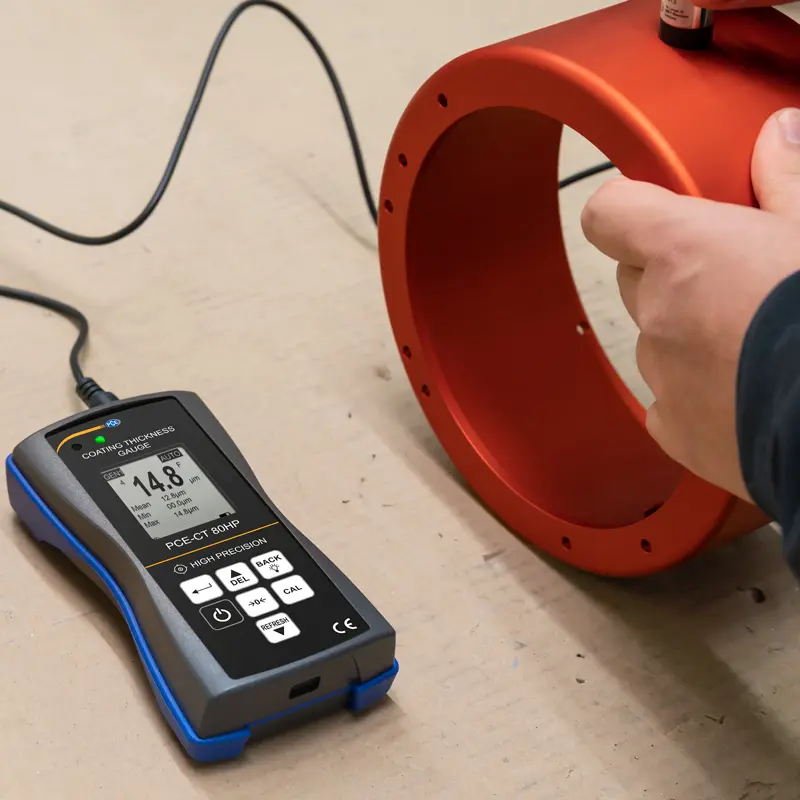
The coating thickness gauge reliably determines the thickness of plastics, paints, and other coatings on ferrous and non-ferrous metals. With a measuring range of up to 0 … 5000 µm on ferrous metals, it handles a wide variety of tasks. Its high accuracy of ±(1.0% of mv. + 0.5 µm) makes it a precise measuring device. The sensor features a V-groove, allowing measurements on both convex and concave surfaces.
During measurements, the gauge can save up to 2,000 measured values. After a measurement run, you can transfer the data to a computer and analyze it using software, with the option to export the data in CSV format for further processing.
The gauge has a limit value alarm function where you can set a target range. A green LED signals when the measurement is within the set range, while a red LED indicates when it is outside the range. This feature makes the gauge useful for quality assurance in incoming and final inspections.
For added protection, the housing of the gauge is rubberized. An ISO calibration certificate can also be optionally provided.
HIGHLIGHTS
- Practical V-groove on the measuring heads
- High accuracy for small coatings
- Adjustable limit values
- Data memory for 2000 readings
- Measuring range of up to 0-5000 µm
- Optionally with ISO calibration certificate
| Measuring range | Fe: 0 … 5000 µm, NFe: 0 … 3000 µm |
| Accuracy after foil calibration | ±(1.5 % of measured value + 1 µm) |
| Accuracy after zeroing | ±(1.75 % of measured value + 1 µm) |
| Probe diameter | Ø17 mm / 0.67″ |
| Resolution | 0.1 µm (<100 µm), 1 µm (>100 µm) |
| Measurable materials | |
| Fe substrates such as: | Fe substrates such as: steel and iron |
| NFe substrates such as: | NFe substrates such as: aluminum and copper |
| Min. radius of curvature convex | 5 mm / 0.19″ |
| Min. radius of curvature concave | 25 mm / 0.98″ |
| Min. measuring surface | Ø17 mm / 0.67″ |
| Min. layer thickness | 0.2 mm / 0.007″ (on magnetic materials) |
| 0.05 mm / 0.002″ (on non-magnetic materials) | |
| Probe mode | Auto material detection mode (Fe + NFe) |
| Magnet mode (Fe) | |
| Eddy current mode (NFe) | |
| Calibration | Multi-point calibration |
| (1 … 4 points for each group) | |
| Zero calibration | |
| Units | µm, mm, mils |
| Data transfer | USB 2.0 |
| Memory | A volatile measurement group (DIR mode) |
| Four measurement groups with autom. | |
| storage and max. 2000 readings (GEN mode) | |
| Statistics functions | Number of measured values, mean, |
| minimum, maximum, standard deviation | |
| Alarm | Display when the adjustable value is exceeded |
| upper and lower alarm limit | |
| Automatic shutdown | auto. shutdown mode (3 min.) |
| Power supply | 3 x 1.5 V AAA batteries |
| Display | 128 x 128 px LCD display |
| Additional displays | battery status, error detection |
| Operating conditions | 0 … +50 °C / 32 … 122 °F |
| 20 … 90 % RH non-condensing | |
| Storage conditions | -10 … +60 °C / 14 … 140 °F |
| 20 … 90 % RH non-condensing | |
| Dimensions | 143 x 71 x 37 mm / 5.6 x 2.8 x 1.4″ (L x W x H) |
| Weight | with sensor and batteries: 271 g / 9.5 oz |
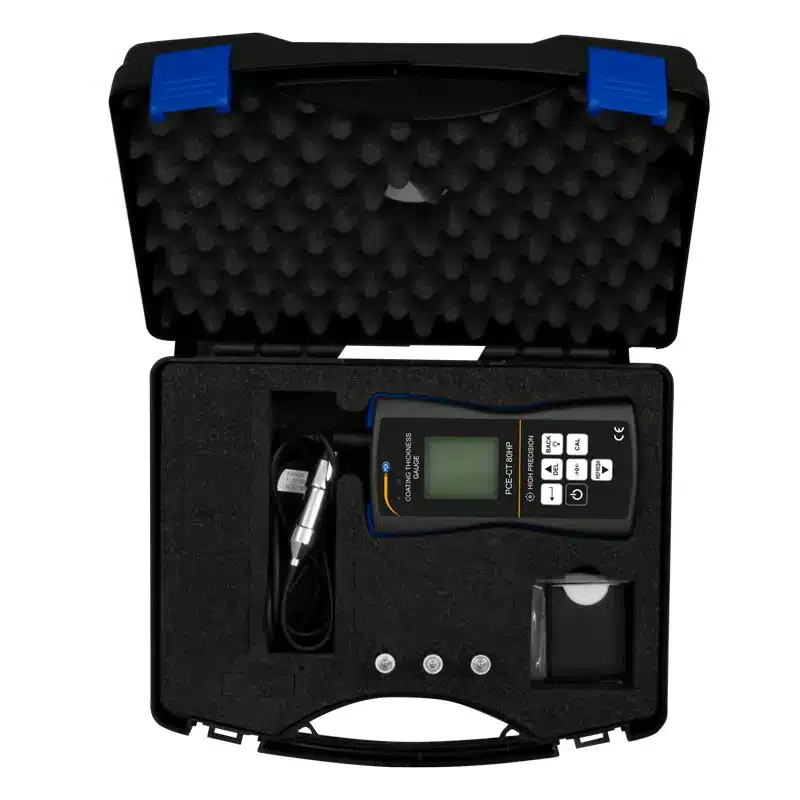
1 x Coating Thickness Gauge PCE-CT 80HP-F5N3
1 x Sensor
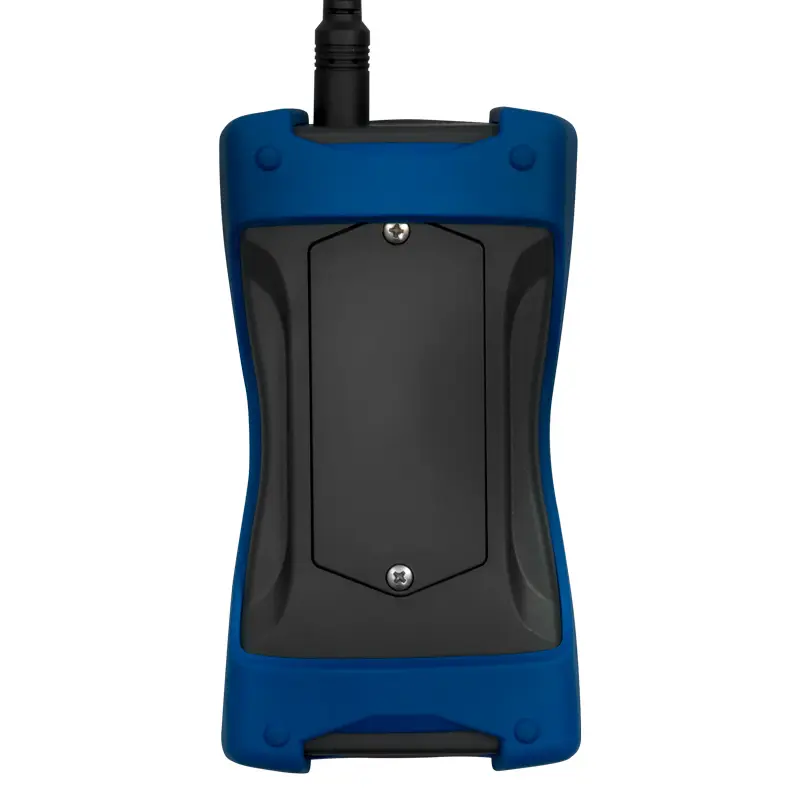
3 x 1.5V AAA batteries
1 x Carrying case
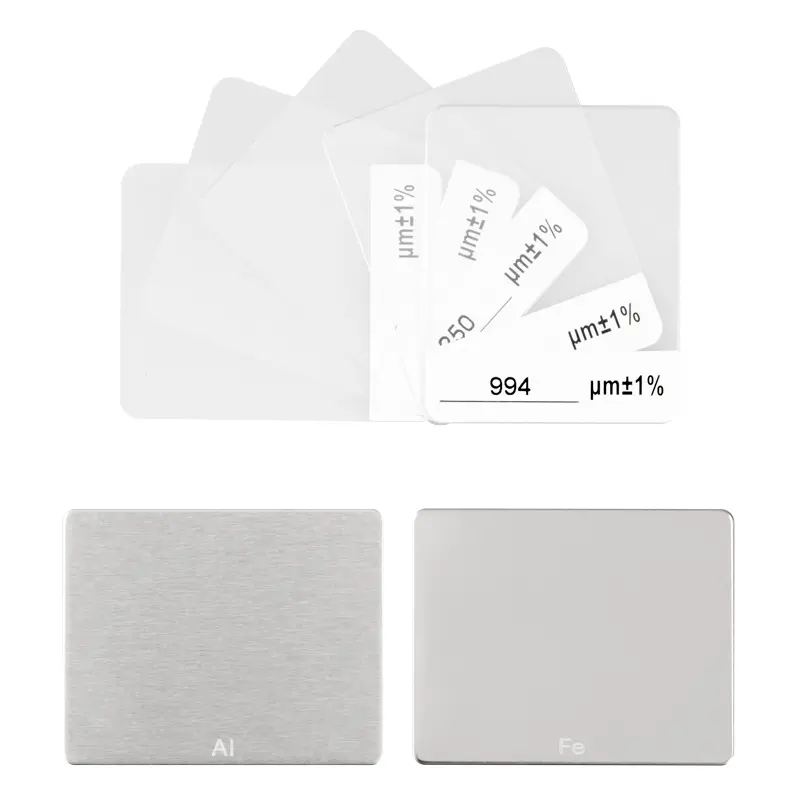
1 x Set of standard foils
1 x Calibration plates (Fe and NFe)
1 x Instruction manual


