
Order no.: PCE-CT 80-F5N3
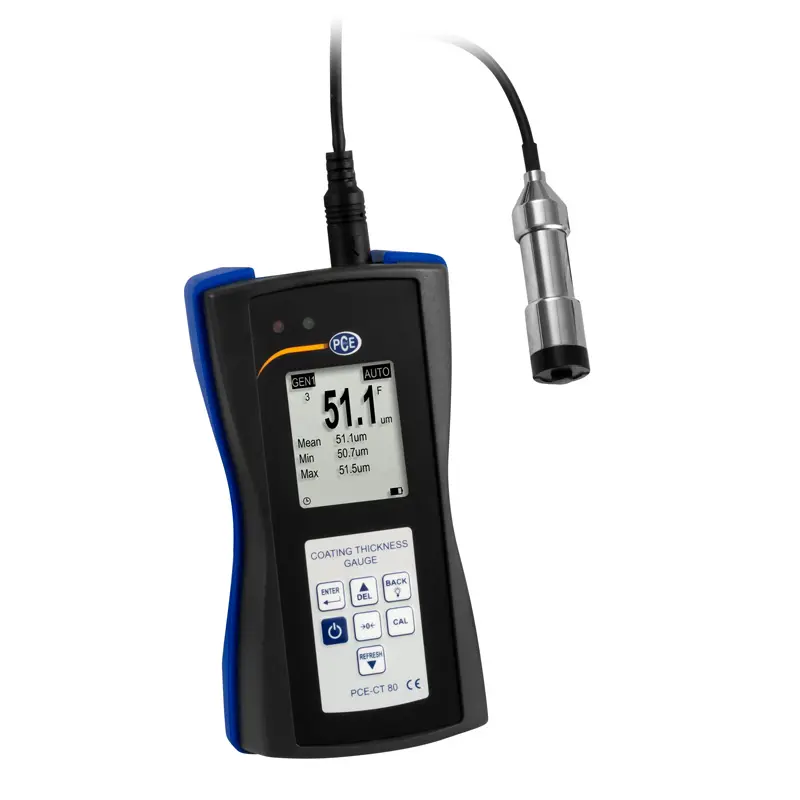
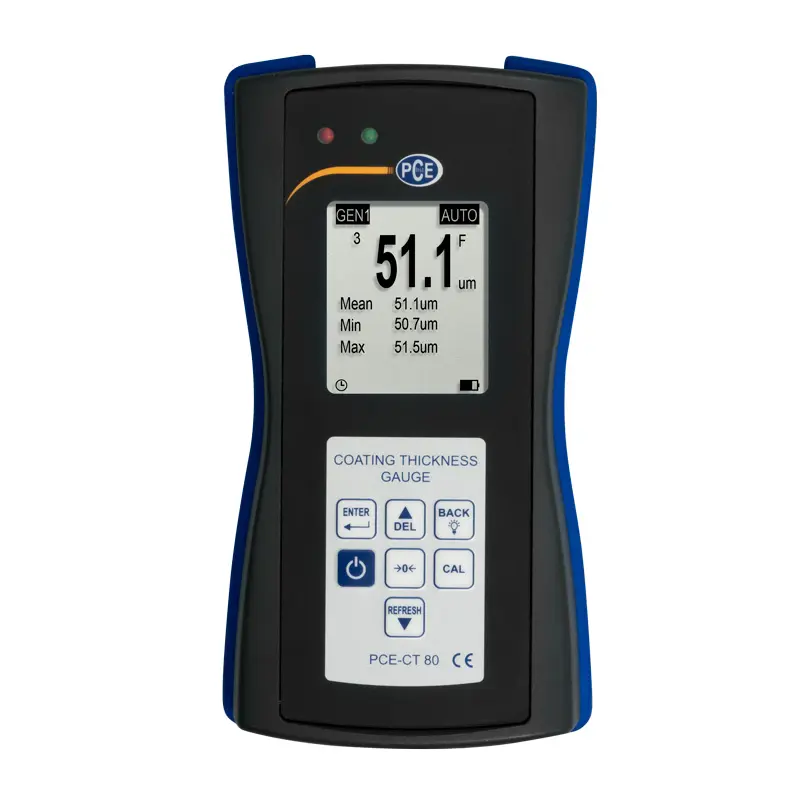
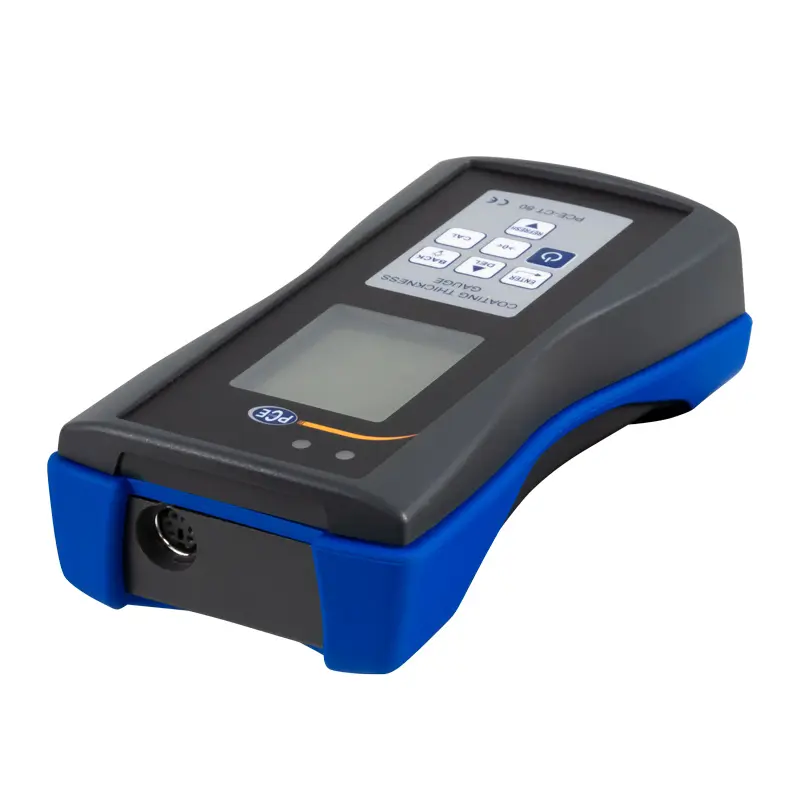
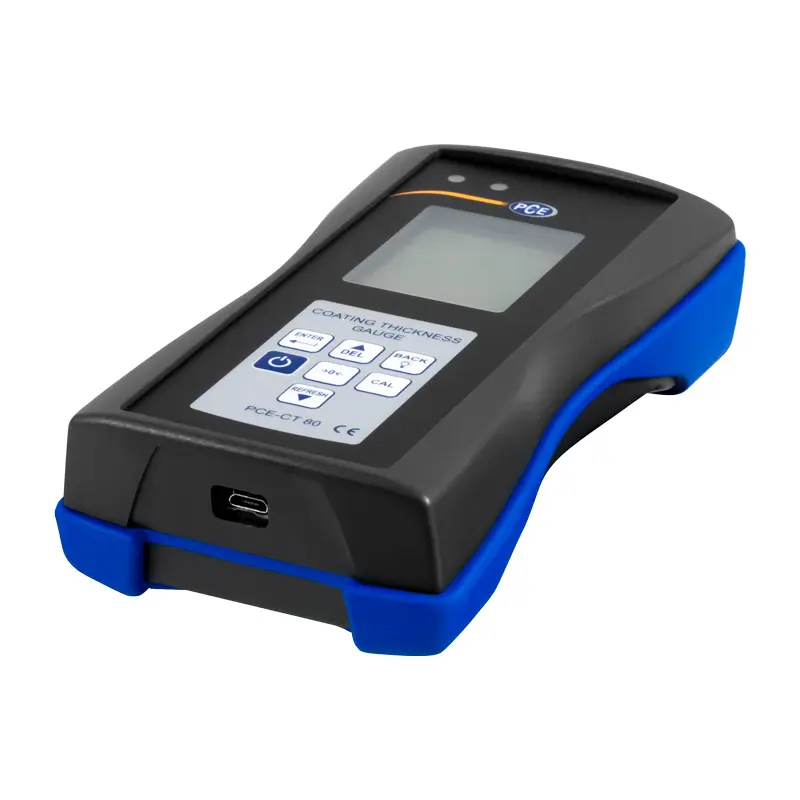
Coating Thickness Gauge PCE-CT 80-F5N3
- Measuring range: Fe: 0 … 5000 µm, NFe: 0 … 3000 µm
- Accuracy after foil calibration: ±(2% of reading + 1 µm)
- For many materials such as: iron, steel, aluminum, copper, brass, stainless steel
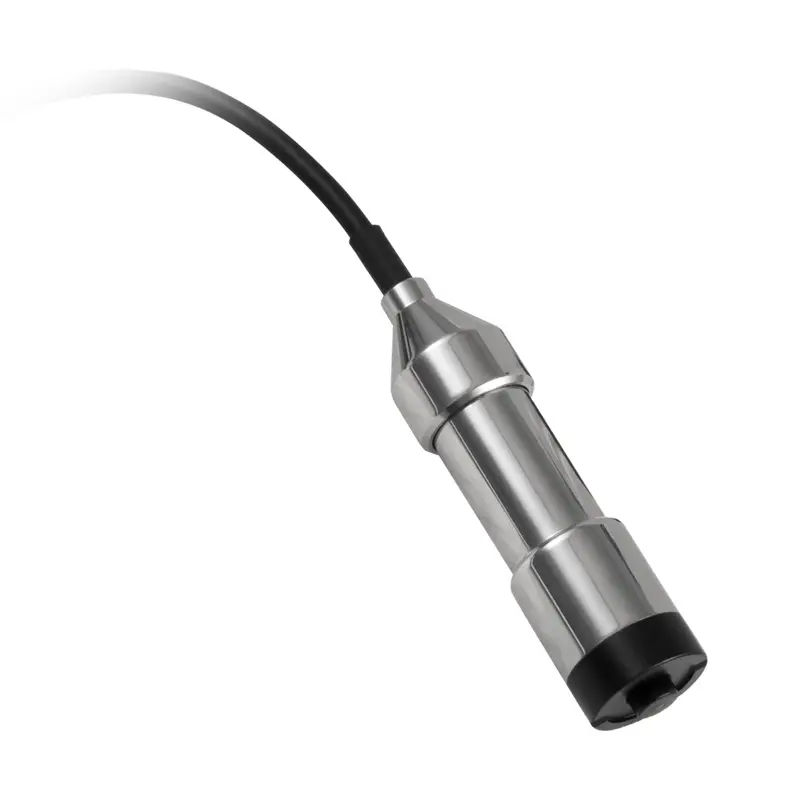
- Diameter: 17mm / 0.67″
The coating thickness gauge PCE-CT 80-F5N3 measures the thickness of coatings like paint, varnish, and plastic on metals without damaging them. Its external sensor helps reach hard-to-access areas. The easy-to-use menu lets you quickly set new parameters, making it essential for quality control in factories and workshops.
This gauge is perfect for quickly checking vehicle damage after an accident. It’s also useful in industries for inspecting materials during production and delivery.
With its ergonomic design and external sensor, the gauge gives fast and accurate results. It measures coatings like paint, plastic, chrome, copper, zinc, and enamel on steel and iron, as well as non-conductive layers like paint, plastic, paper, glass, and rubber on metals like aluminum and brass.
HIGHLIGHTS
- For measurements on iron/steel and non-ferrous metals
- Measurements cannot be influenced by vibrations
- Practical V-groove on the measuring heads
- Ergonomic design
- Warning message for measurements outside the maximum measuring range
- Wear-resistant, spring-mounted measuring head for precise measuring results
| Measuring range | Fe: 0 … 5000 µm |
| NFe: 0 … 3000 µm | |
| Accuracy | ±(2 % of reading + 1 µm) |
| Resolution | 0.1 µm (<100 µm) |
| 1 µm (>100 µm) | |
| Measurable materials | For measurements on iron/steel and non-ferrous metals |
| Min. radius of curvature convex | 5 mm / 0.19″ |
| Min. radius of curvature concave | 25 mm / 0.98″ |
| Min. measuring surface | Ø17 mm / 0.67″ |
| Min. substrate thickness | 0.2 mm / 0.008″ (on magnetic materials) |
| 0.05 mm / 0.002″ (on non-magnetic materials) | |
| Probe mode | Autom. mode with material detection (Fe + NFe) |
| Magnetic mode (Fe) | |
| Eddy current mode (NFe) | |
| Calibration | Multipoint calibration (1 … 4 points for each group) |
| Zero-point calibration | |
| Units | µm, mm, mils |
| Data transfer | USB 2.0 |
| Memory | A volatile measuring group (DIR mode) |
| Four measuring groups with autom. storage and max. 2000 readings (GEN mode) | |
| Statistical functions | Number of measured values, mean, minimum, maximum, standard deviation |
| Alarm | Display when the adjustable upper and lower alarm limits are exceeded |
| Operating time | Autom. shutdown mode (3 min.) |
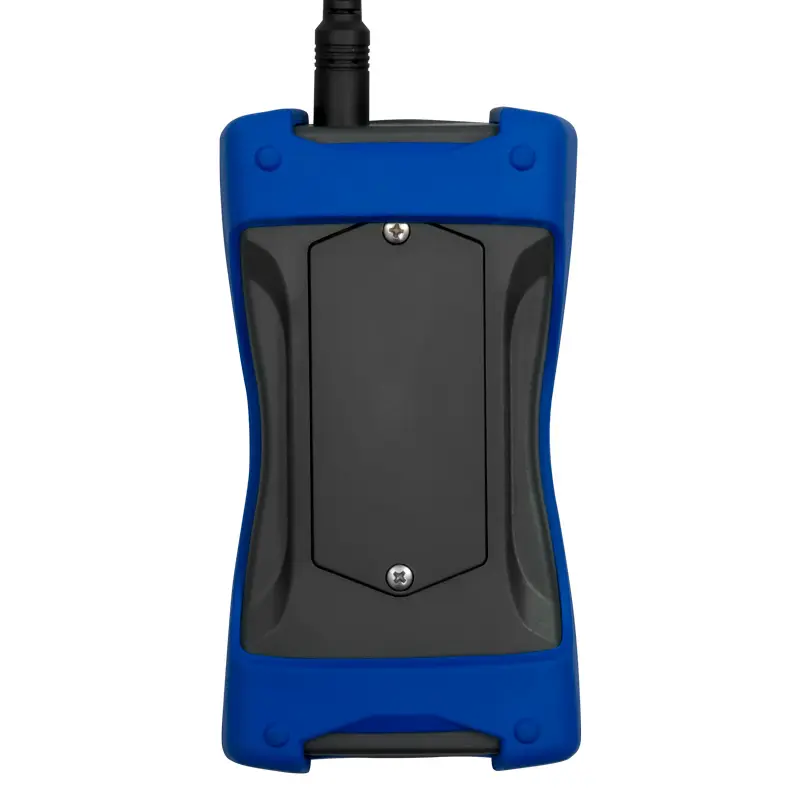
| Power supply | 3 x 1.5 V AAA batteries |
| Display | 128 x 128 px LCD display |
| Indicators | Battery status |
| Fault detection | |
| Operating conditions | 0 … +50 °C / 32 … 122 °F |
| 20 … 90 % RH non-condensing | |
| Storage conditions | -10 … +60 °C / 14 … 140 °F |
| 20 … 90 % RH non-condensing | |
| Dimensions | 143 x 71 x 37 mm / 5.6 x 2.8 x 1.5″ (L x W x H) |
| Weight | With sensor and batteries: ca. 271 g / 9.5 oz |
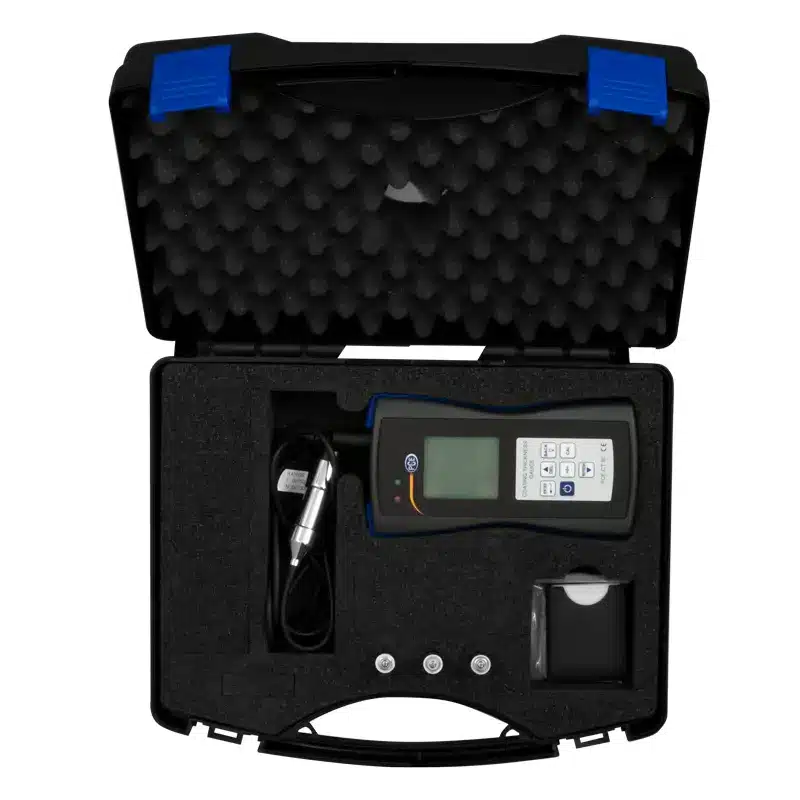
1 x Coating thickness gauge PCE-CT 80-F5N3
3 x AAA batteries
1 x Instruction manual
1 x Carrying case
1 x Set of standard foils
1 x Calibration plates (Fe and NFe)


