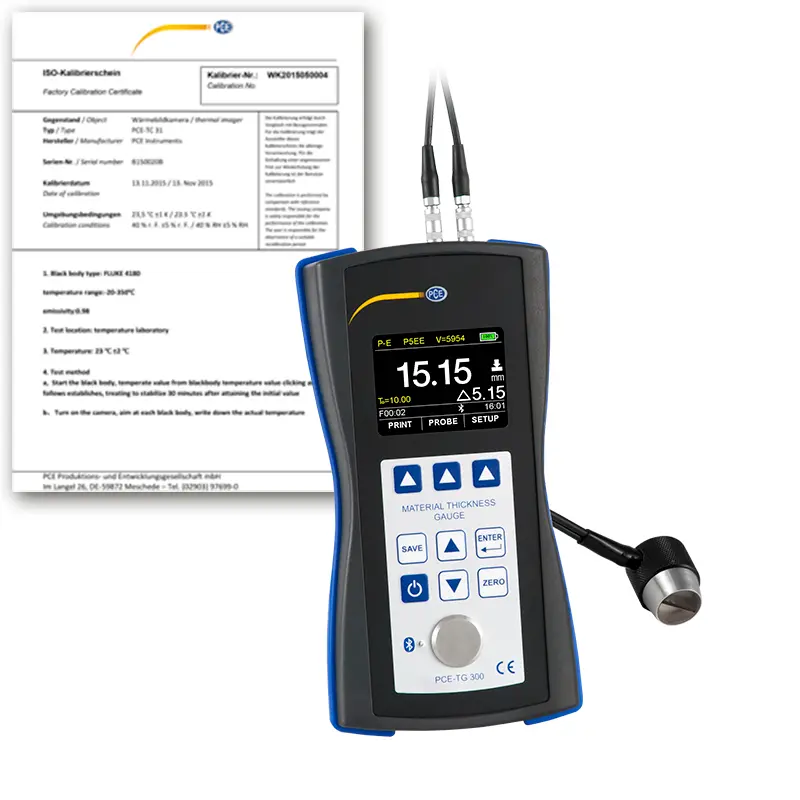
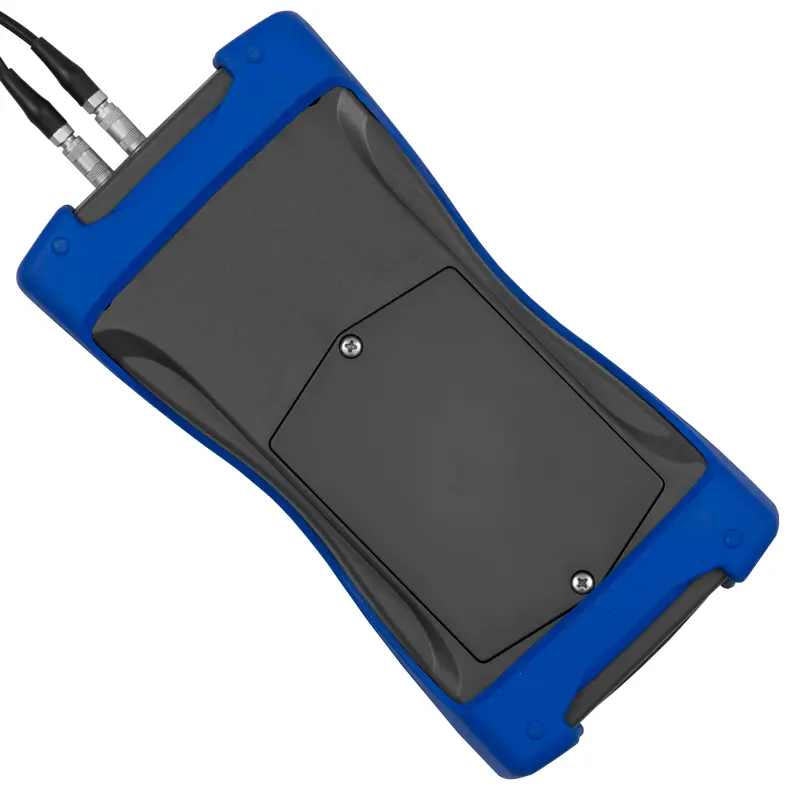

PCE-TG 300-NO2-ICA incl. ISO calibration certificate
Ultrasonic Thickness Tester PCE-TG 300-NO2-ICA incl. ISO calibration certificate
- Measuring range: 3.0 … 300.0 mm / 0.118 … 11.81″ (steel)
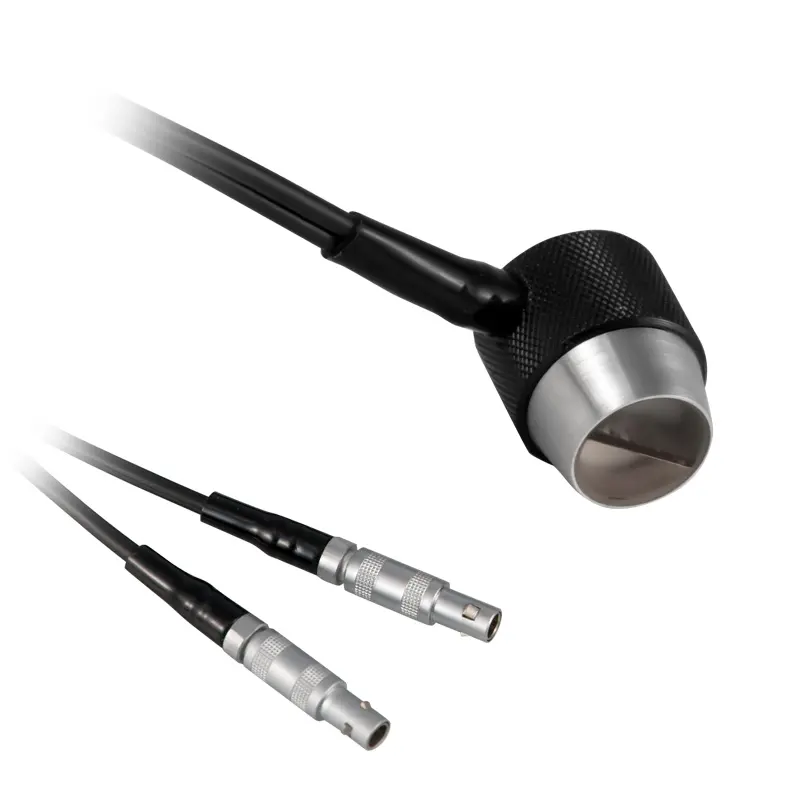
The PCE-TG 300-NO2 is an ultrasonic thickness tester equipped with special sensors for various applications. It can measure the wall thicknesses of all homogeneous materials. For damping or scattering materials such as plastic or cast metal, a special sensor is available. An angled 90° sensor enables measurements at hard-to-reach points. The thickness meter allows users to freely set the speed of sound, adapting to a wide variety of materials.
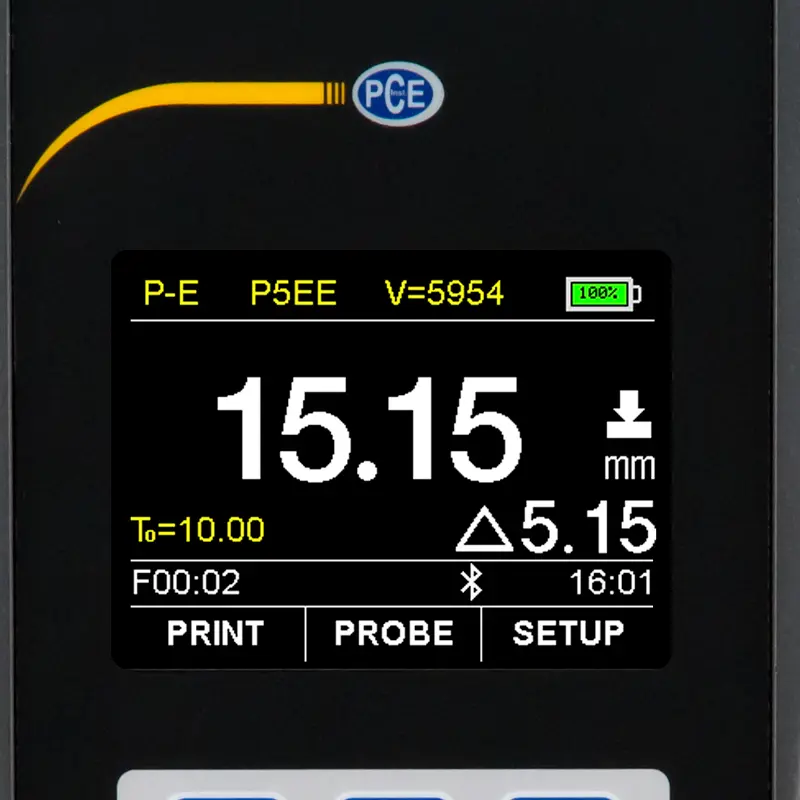
Measured values are displayed directly on the easy-to-read TFT color display. The internal memory, accessible via optional software, allows for clear storage of different measuring points. This non-destructive ultrasound measuring method enables measurement even on finished products. With the Echo-Echo mode (available only with the PCE-TG 300-P5EE sensor), it can also measure coated workpieces.
HIGHLIGHTS
- Large measuring range
- Various sensors available
- Battery operation
- Error and voids detection
- Internal measurement data memory
- Print via Bluetooth
- incl. ISO calibration certificate
| PCE-TG-NO2 sensor | |
| Measuring range | 3.0 … 300.0 mm / 0.118 … 11.81″ (steel) |
| Minimum diameter of pipes | 30 mm / 1.18″ |
| Frequency | 2.5 MHz |
| Diameter | 14 mm / 0.55″ |
| Description | normal measurement |
| PCE-TG 300-NO2 device | |
| Measuring range | P-E: pulse-echo mode 0.65 … 600 mm / 0.025 … 23.62″ (steel)” |
| (measurement range varies depending on the sensor) | |
| E-E: Echo-Echo mode 2.50 … 100 mm / 0.098 … 2.36″ | |
| (only with PCE-TG 300-P5EE sensor) | |
| Accuracy | ±0.04 mm H[mm] (<10 mm); ±0.4 % H[mm] (>10 mm) |
| H refers to the material thickness of the workpiece | |
| Resolution | 0.1 mm / 0.01 mm / 0.001 mm (adjustable) |
| Measurable materials | metals |
| plastics | |
| ceramics | |
| epoxy resin | |
| glass | |
| and all homogeneous materials | |
| Working modes | Pulse-echo mode (fault and void detection) |
| Echo-echo mode (hide layer thicknesses, e.g. paint) | |
| Calibration | sound velocity calibration |
| zero calibration | |
| two-point calibration | |
| View Mode | Normal Mode, Scan Mode, Difference Mode |
| Units | mm / inch |
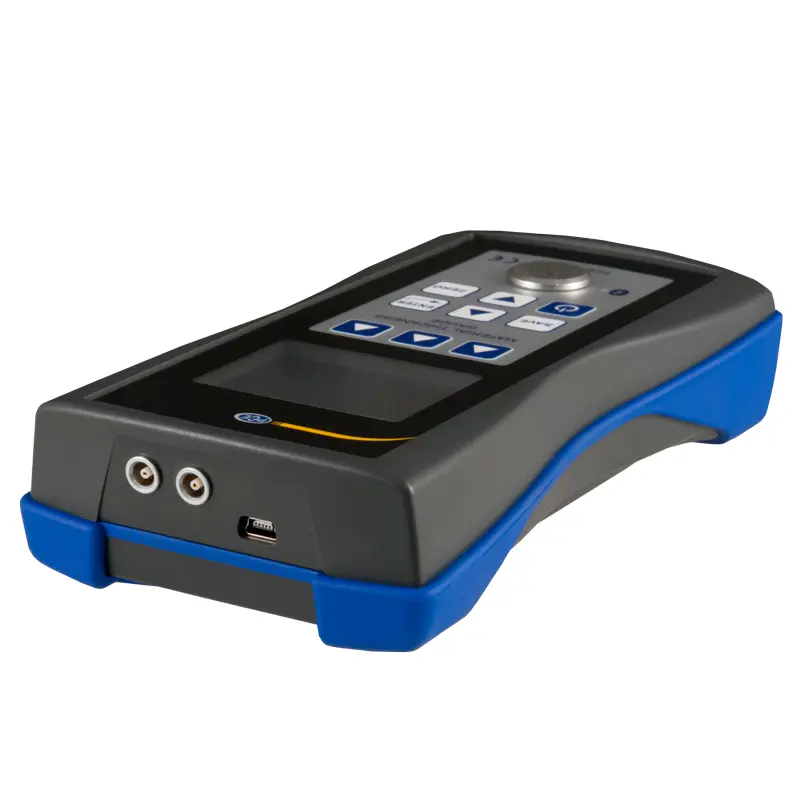
| Data transfer | printing via Bluetooth / USB 2.0 |
| Memory | non-volatile memory with 100 data groups with 100 data sets each |
| Operating time | continuous operation 100 h |
| automatic stand-by mode (adjustable) | |
| auto power off mode (adjustable) | |
| Power supply | 4 x AA battery 1.5 V |
| Display | 320 x 240 pixels TFT LCD color display with brightness adjustment |
| Operating conditions | 0 … +50 °C / 32 … 122 °F, ≤80 % RH non-condensing |
| Storage conditions | -20 … +70 °C / -4 … 158 °F, ≤80 % RH non-condensing |
| Dimensions | 185 x 97 x 40 mm / 7.2 x 3.8 x 1.5″ |
| Weight | 375 g / 13.2 oz |
1 x Ultrasonic thickness tester PCE-TG 300-NO2-ICA
1 x Sensor PCE-TG-NO2
1 x 100 ml coupling gel
1 x Transport case
4 x AA batteries
1 x User manual
1 x ISO calibration certificate
ACCESSORIES
Ultrasonic Contact Gel (100 ml)
K-Gel High-Temperature Coupling Gel
Step Calibration Block (4) PCE-TG-BLOCK
Sensor PCE-TG 300-HT5 (5 MHz)
Sensor PCE-TG 300-NO7 (7 MHz)
Sensor PCE-TG 300-NO5/90 (5 MHz)
Sensor PCE-TG 300-NO5 (5 MHz)
Sensor PCE-TG 300-NO2 (2.5 MHz)
Sensor PCE-TG 300-P5EE (5 MHz)
PC software with USB cable for PCE-TG 300
NB: ACCESSORIES CHARGES ARE EXTRA


