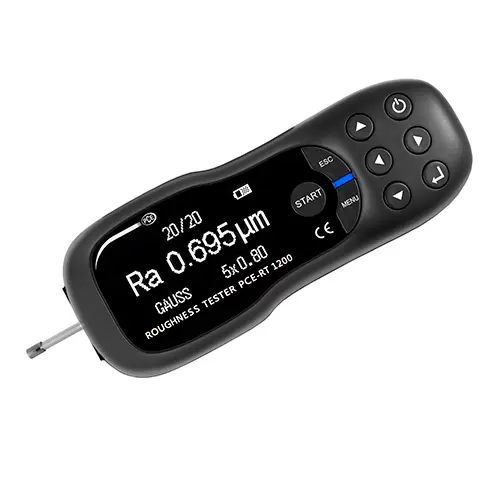

Handheld Surface – Roughness Tester PCE-RT 1200BT
- Measures Ra, Rz, Rq and Rt in Metric (µm) and Imperial (µinch)
- Ra, Rq: 0.005 … 16.00 μm / 0.197 µinch… 629.921 µinch measurement range
- Rz, Rt: 0.002 … 200.0 μm / 0.079 µinch… 7874.016 µinch measurement range
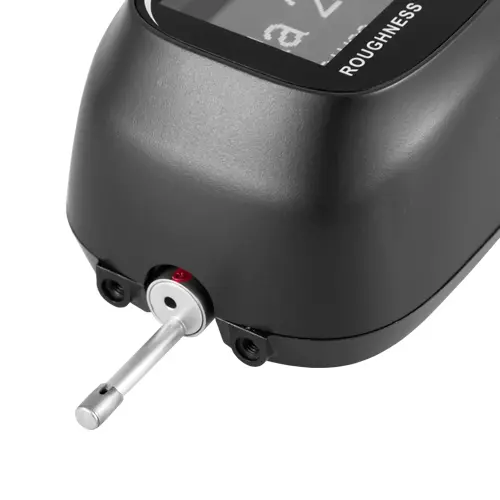
- Induction method with Diamond sensor
- Large OLED display
- Display for the position of the probe
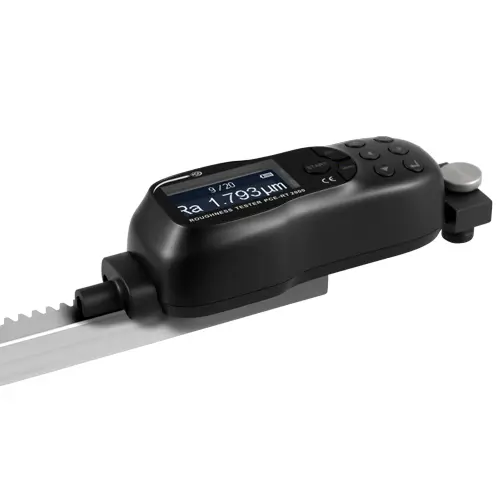
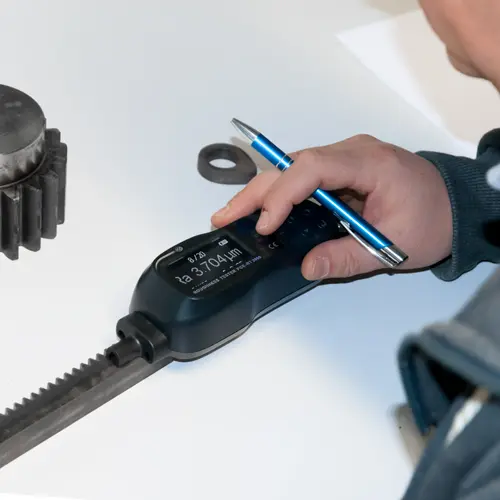
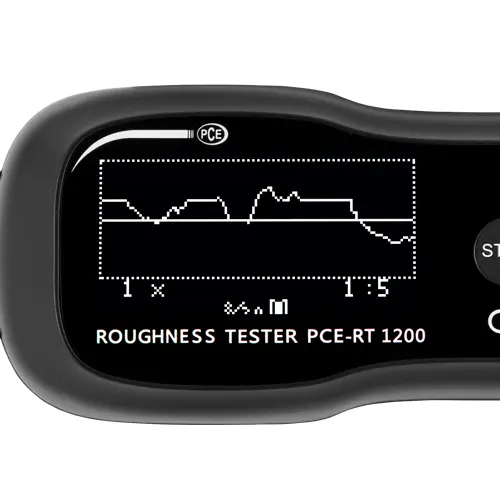
With this portable Bluetooth Handheld Surface-Roughness Tester PCE-RT 1200BT from Dhanbad Instruments, you can quickly and precisely measure the roughness of a wide variety of surfaces. To perform a measurement, place the Bluetooth roughness meter on the surface to be tested and align it using the positioning device. Measurement can be initiated with a simple button press. After completion, the measured value and a progress diagram of the surface are displayed on the device’s screen.
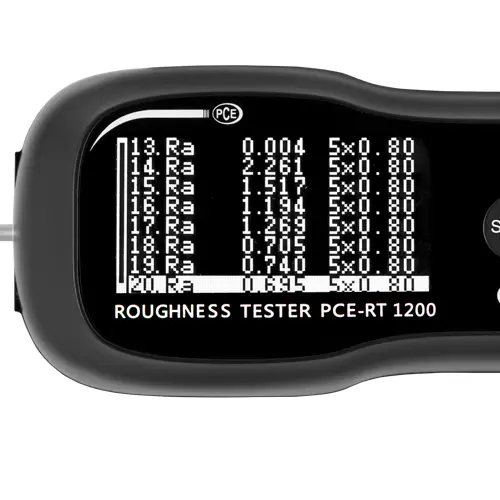
Various measurement parameters provide information about surface roughness, such as maximum roughness depth and mean roughness depth. These parameters can be viewed in the data memory of the Bluetooth roughness meter after a measurement is conducted.
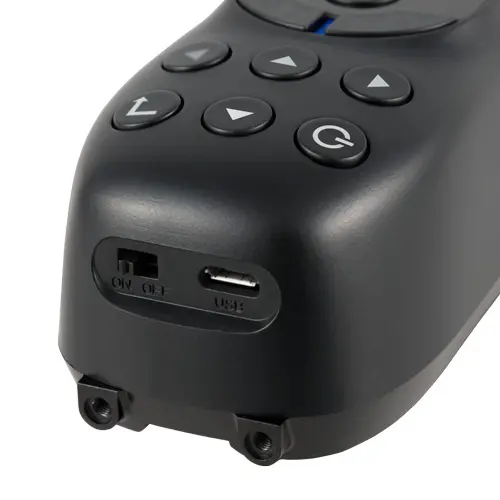
The Bluetooth roughness meter saves recorded measurements, storing up to 20 measurement sequences. To further process or analyze this data, the meter can be connected to a PC via a micro-USB interface. The free software available on the download portal allows for reading, analyzing, and processing the data.
The roughness meter features a Bluetooth interface, enabling direct connection with an Android device. This connection offers several advantages: stored data can be displayed and analyzed directly on the Android device, and measured values can be exported and shared via the mobile device. Additionally, the Bluetooth roughness meter can be controlled through the connected mobile device. Measurement parameters can be set, and the measurement process can be initiated via the Bluetooth interface, minimizing vibrations and resulting in more precise and reliable measurement results.
| Measurement parameters | Ra, Rz, Rq, Rt |
| Measuring ranges | Ra, Rq: 0.005 … 16.00 µm / 0.197 … 629.921 µin Rz, Rt: 0.002 … 200.0 µm / 0.079 … 7874.016 µin |
| Radius probe tip | 5 µm/ 196.850 µin |
| Material probe tip | Diamond, 90° angled |
| Max. recommended force for static measurement | 4 mN (0.4 gf) |
| Radius longitudinal guide bar | 45 mm / 1.77″ |
| Standards | ANSIB46.1/ASMEB46.1 (DIN EN ISO 4287) |
| Maximum driving distance | 15 mm / 0.59″ |
| Measuring principle | Inductive |
| Cut-off wavelength | 0.25 mm / 0.8 mm / 2.5 mm / 0.009″ / 0.03″ / 0.098″ |
| Testing speed | 0.135 mm/s at cut-off wavelength: 0.25 mm 0.5 mm/s at cut-off wavelength: 0.8 mm 1 mm/s at cut-off wavelength: 2.5 mm Reversing speed: 1 mm/s |
| Measuring accuracy | < ± 10% |
| Repeatability | < 6% |
| Display | OLED |
| Units | μm / μinch (switchable) |
| Interface | Micro-USB, Bluetooth |
| Power supply | Rechargeable Li-ion battery |
| Dimensions L x W x H | 150 x 60 x 43 mm / 5.9 x 2.36 x 1.69 in |
| Weight | 370 g / < 1 lb |
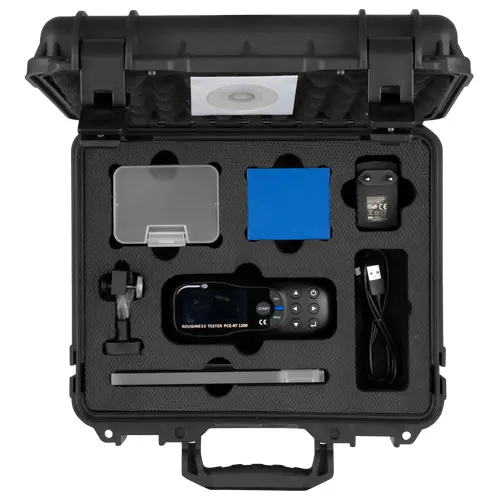
1 x Handheld Surface – Roughness Tester PCE-RT 1200BT
1 x Micro-probe
1 x Downloadable Software
1 x Roughness standard
1 x USB cable
1 x Charging adapter
1 x Carrying case
1 x User manual


